Do you think your portraits don’t look quite right, or you struggle with proportions?
In this face drawing tutorial for beginners, I’m going to show you a step-by-step method to draw a human face from both the front view and the side view – in a way that’s simple and easy to follow!
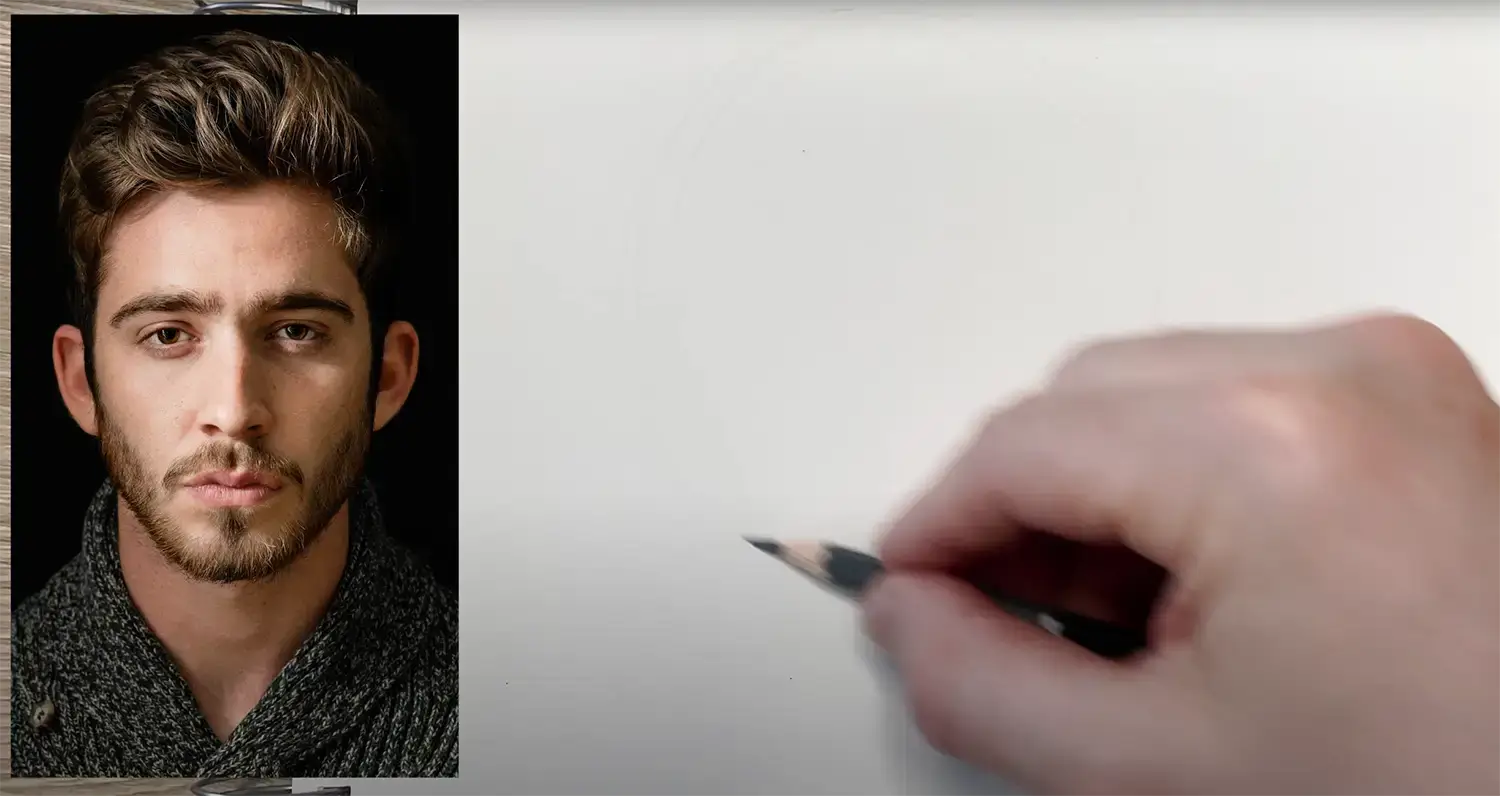
I’ll be using a photo as a reference, but you can use any image, whether it’s a photo of yourself, one you find online, or even a family member or friend!
And don’t worry about materials – you can use a pencil, pen, or even digital tools, but I highly recommend using a pencil (HB – 2B is fine) so you can easily erase mistakes and refine your drawing.
Make sure your pencil is sharp and you have an eraser handy!
I also recommend propping your sketchbook or paper at an angle, so you can clearly see your reference without having to look down too closely.
This will help you maintain a comfortable posture and avoid any strain on your neck, while also allowing you to view your drawing from a better perspective.
Let’s get started to help you create an epic drawing!
Frontal View
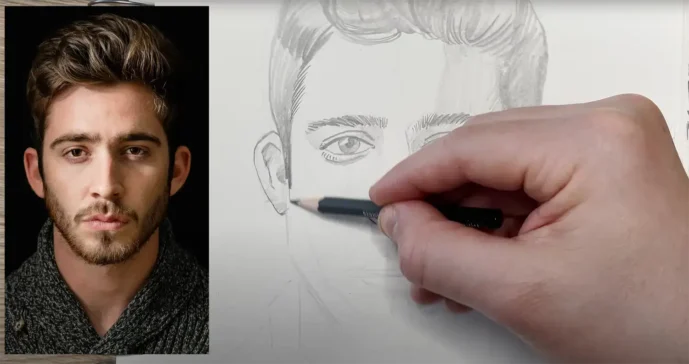
Step 1: Start with a Circle
Begin by lightly drawing a circle to represent the cranium of the head.
This is the foundation of the head structure.
Step 2: Establish Guidelines
Draw a horizontal line across the circle for the brow line. Then, add a vertical line down the centre of the face.
This will help you place facial features symmetrically.

Step 3: Find the Chin
Measure the distance between the brow line and the bottom of the circle.
Extend a vertical line half this distance downward – this marks the chin. This is flexible, as some people have various lengths of facial features.
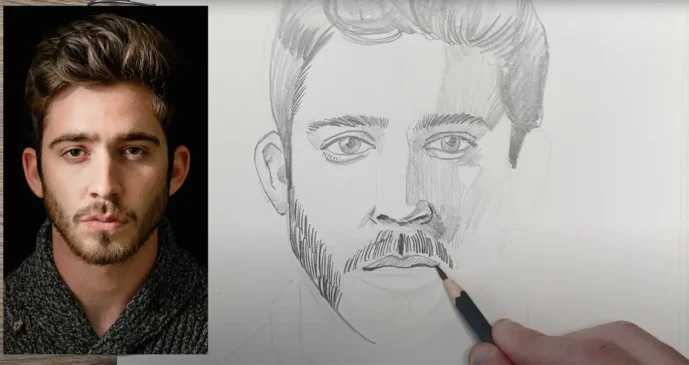
Step 4: Position Key Features
Now that you have your basic structure in place, lightly place the eyes below the brow line, ensuring that they are about one eye-width apart.
The bottom of the nose should sit halfway between the bottom of the circle and the eyes.
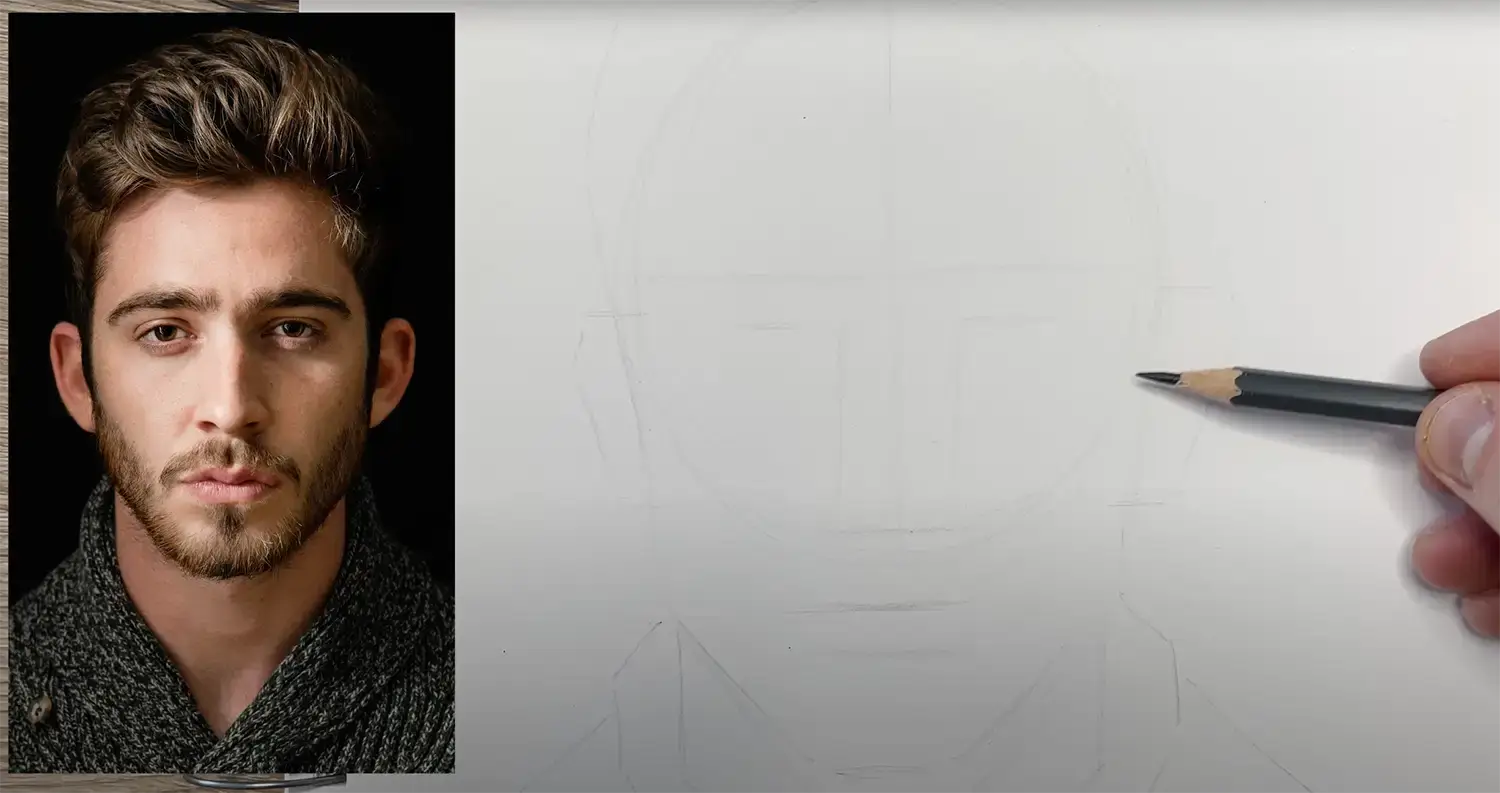
The mouth will sit halfway between the nose and the chin, roughly in line with the pupils.
Remember, that if you spot any drawing mistakes you can erase and redraw!
The ears should align with the brow line and the bottom of the nose.
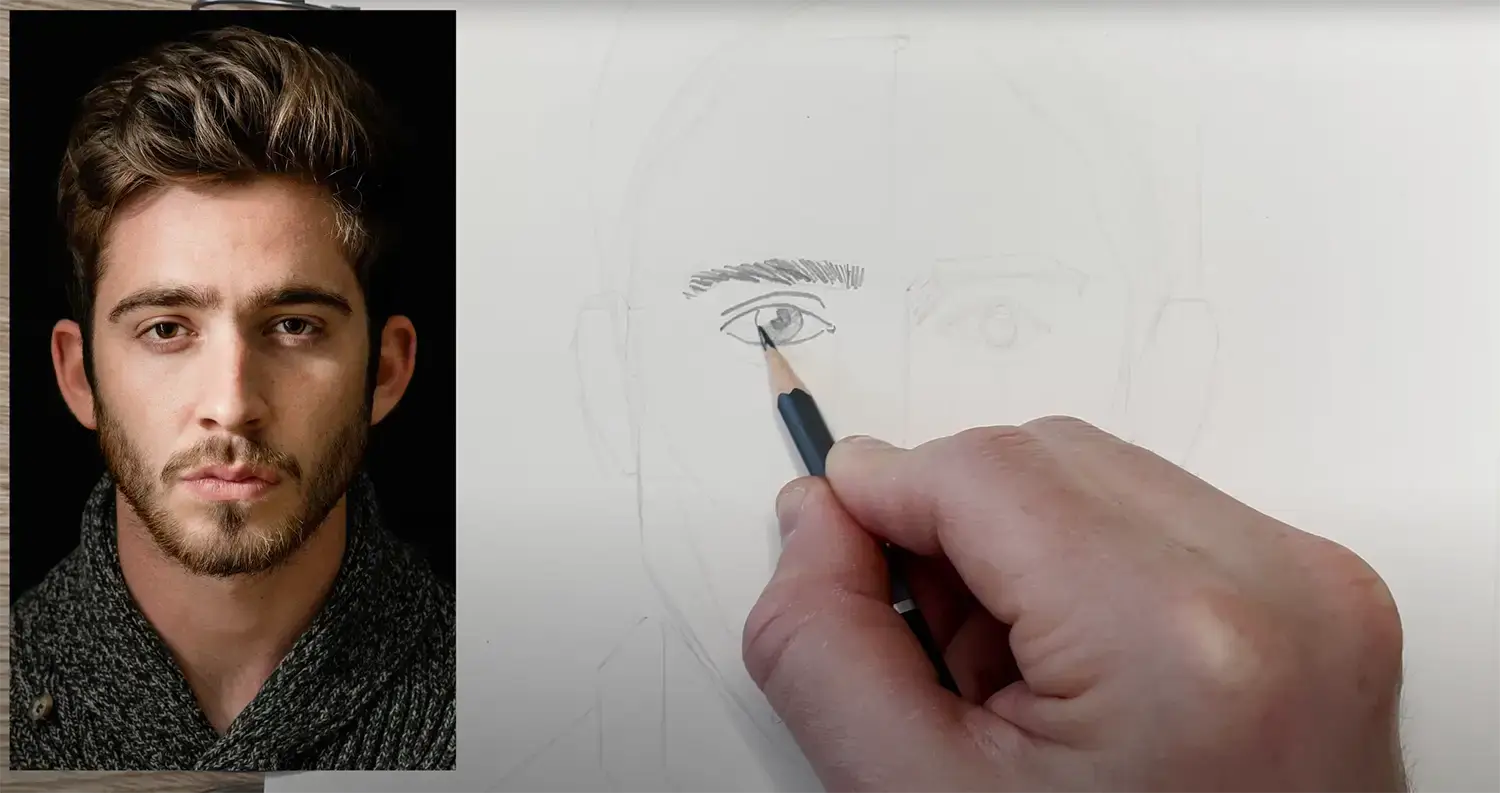
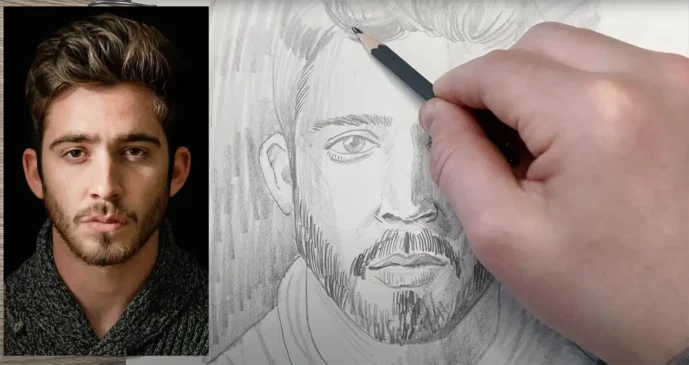
Step 5: Sketch Facial Features
Remember, these guidelines are just that – guidelines. You don’t have to rigidly stick to them. If, in your light sketch lines, you feel the chin is too long, make it shorter.
If the eyes seem too far apart, adjust them.
The structure is flexible, and the more you refine, the more natural your drawing will look. I started shading by drawing the left side of the face first, then the right, followed by the hair, nose, left ear, mouth, and finally shading the right side of the face.
If you want help with drawing, I recommend you check out these drawing exercises.
This helps avoid smudging and prevents graphite from getting on your hand.
The hairline typically sits at the same distance from the brow line to the nose. Draw the neck with strength and volume, ensuring it flows naturally from the jawline.
I recommend this approach to viewers as well – you don’t want the side of your hand to be covered in graphite! If you’re right-handed, this method works well, but if you’re left-handed, you may want to reverse the order to avoid smudging.
If you’re finding this face drawing tutorial for beginners helpful, be sure to let me know in the comments how your portrait turned out – I’d love to hear your progress!
What’s the hardest part of drawing a portrait?
Step 7: Refine & Shade
Use the side of your pencil for shading, gradually building tones from dark to light.
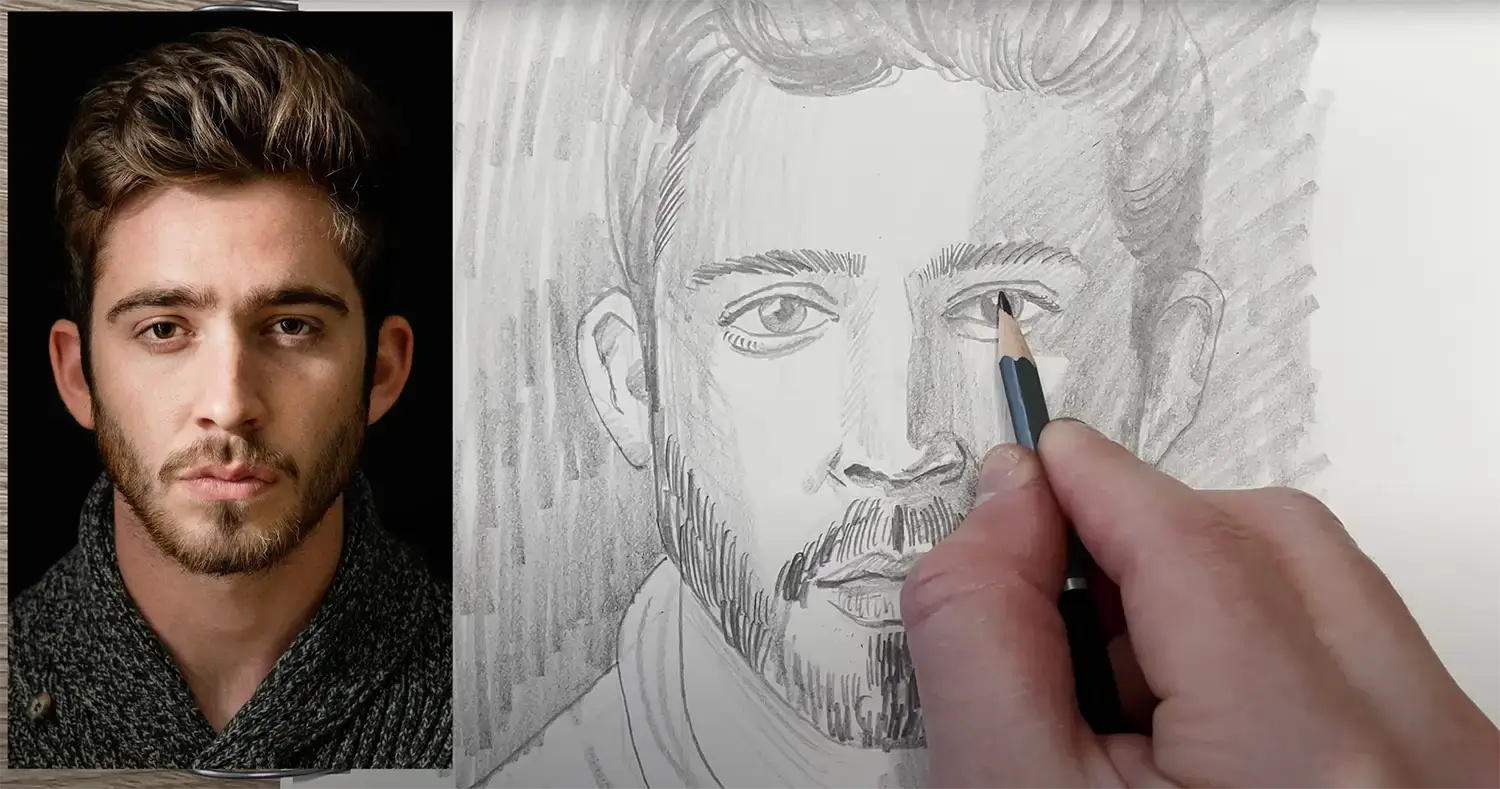
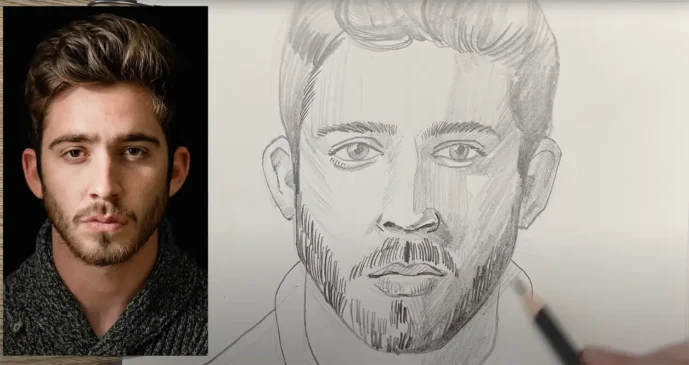

The right side of the face should be the darkest. I have also shaded the background in the frontal view, but this is optional. This is the fun part of drawing a realistic human face (well, all of it is fun right? ;))
Step 8: Final Touches
Erase the initial guidelines and any unnecessary outlines to create a polished look.
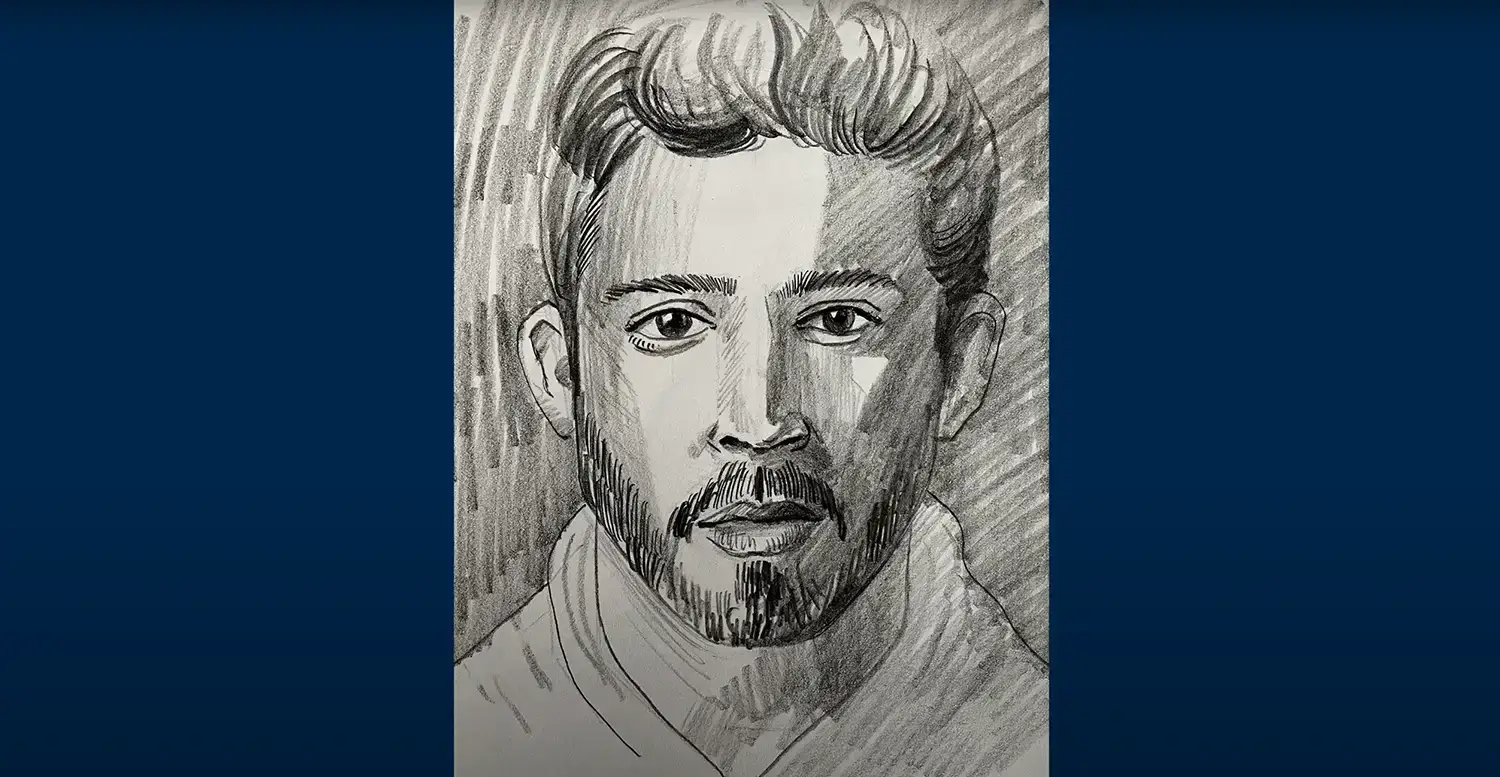
And there it is, the finished frontal portrait.
Conclusion: Bringing It All Together
Now that you’ve followed each step and you’ve completed this face drawing tutorial for beginners, you’ve built a solid foundation for drawing the head from a frontal view, nice work! Remember:
- These guidelines are flexible — don’t be afraid to make small adjustments as you go.
- Always sketch lightly in the beginning so refining becomes easier later.
- Think about the order of your shading to avoid smudging.
- Use reference images often to improve your proportions and likeness.
Practice this approach a few times, and you’ll start seeing real progress in your portrait work. Drawing faces becomes less intimidating when you break it down step-by-step.
Want to keep the momentum going? Check out these next tutorials:
- How To Shade With A Pen For Beginners: Improve Your Drawings
- How To Improve Your Portrait Drawing: Expert Tips For Drawing Beginners
- What Draw When You’re Bored Stiff: 11 Ideas To Try!
Many thanks for listening and visiting my blog today. You can follow what I’m up to on my Twitter, Facebook, or Instagram pages, I’ll really appreciate it if you do, and don’t be afraid to say hi to me! Many thanks again, and have a great day!

 15th May 2025
