Do you want to discover drawing exercises to improve your drawing skill?
Do you sometimes (or often!) feel that you don’t know what to draw?
Within this blog post you will discover 9 drawing exercises to radically improve your drawing skill, and take your skill to the next level.
No more not knowing what to draw or not knowing how to improve your drawing skill anymore!
I’ll share what each exercise consists of, my recommendations throughout, and how long you should commit to each drawing exercise. I recommend any form of paper, in your sketchbook, or layout paper for these drawing exercises.
We will cover the following:
- Blind Contour Drawing
- Continuous Line Drawing
- Detailed Drawing
- Use Different Materials
- Ghosting and Practicing Lines
- Use the Opposite Hand
- Tonal Drawing
- Observational Drawing
If you prefer to watch instead of read, check out this video below on my YouTube Channel, The Portrait Guru, where I share portrait, drawing and art tips on a weekly basis.
Any Likes, subscribes and comments more than appreciated so I can help more people with their drawings:
Let’s get cracking with the first drawing exercises for beginners!
Blind Contour Drawing
This exercise involves drawing without looking at your paper. It’s an excellent way to improve hand-eye coordination and drawing observational skills.
I love blind contour drawing as you can really study the subject, and remove perfection in your drawings.
The primary goal is to focus your attention on what you’re actually seeing, rather than what you think you’re seeing.
There’s a major difference here, and you’ll notice the different by committing to this drawing exercise. If you’re drawing a portrait like the below example, really concentrate on all of the features.
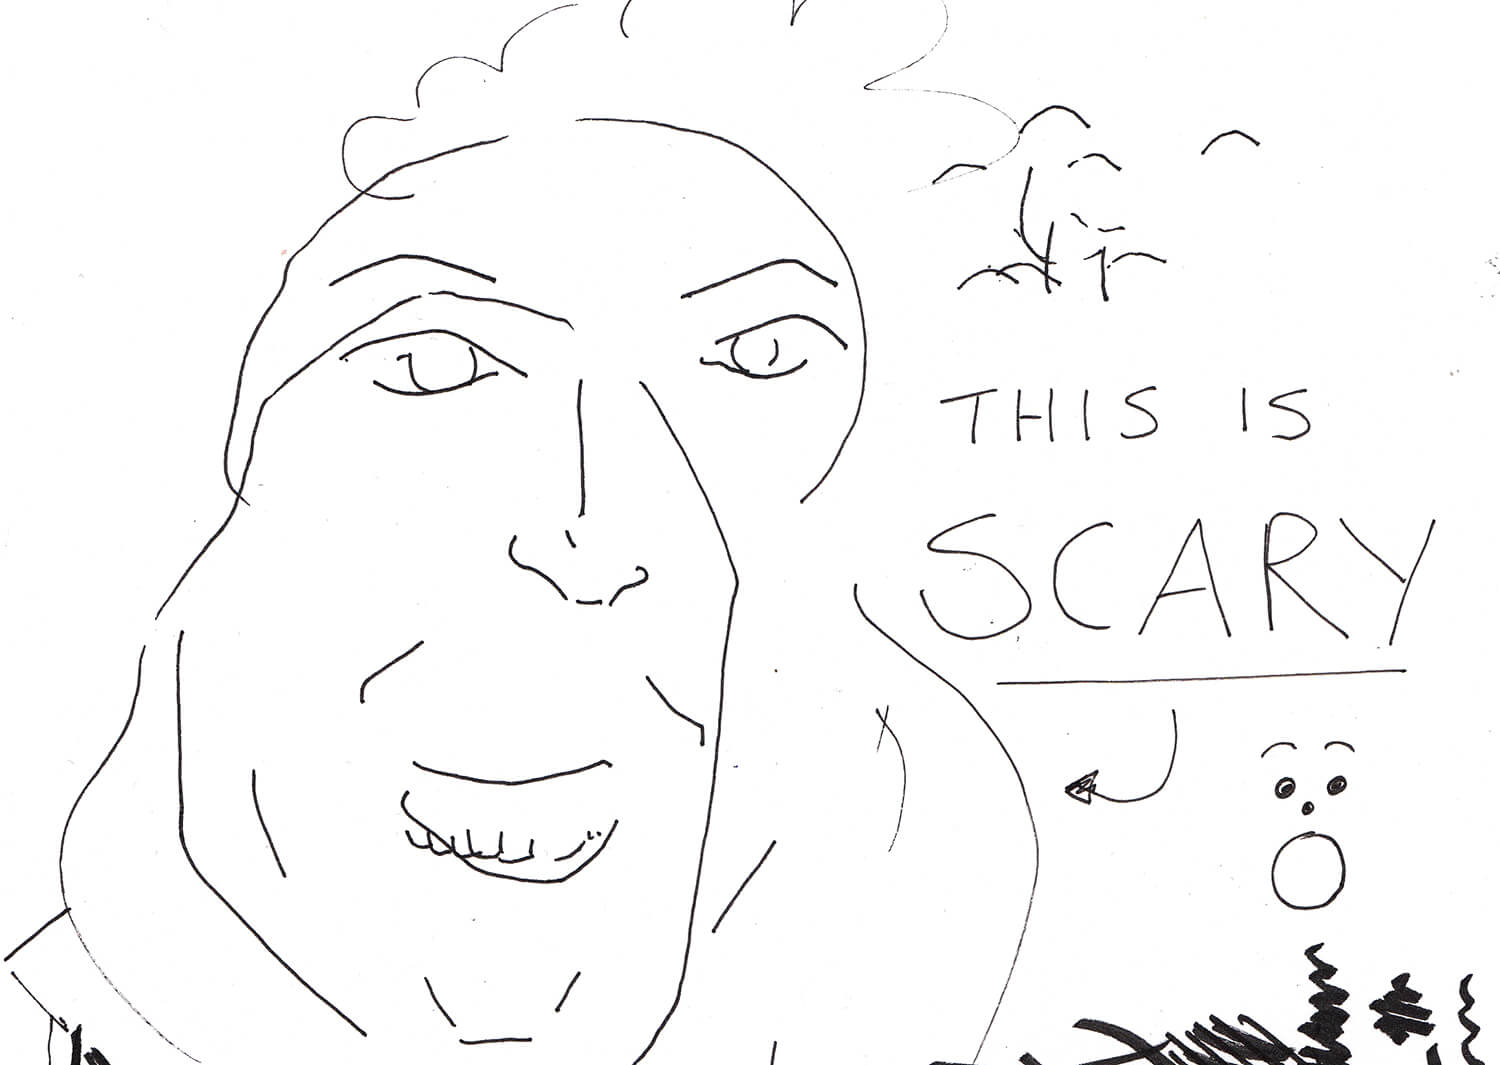

By focusing solely on the subject and not the final outcome, you train your brain to see shapes and forms more accurately.
Take your time, breathe, and embrace imperfection, and don’t cheat by glancing at the paper! You may be shocked when you go to look back at your drawing, but that’s ok!
With practice these drawings will improve, and your observation will improve too. Every artist is always shocked when they look back at their paper, so it’s okay if your drawing looks nothing like the subject, it’s all about learning!
I recommend you do this exercise for 5-10 minutes.
Continuous Line Drawing
Now, let’s move on to continuous line drawing. In this exercise, keep your drawing tool on the paper at all times.
This technique encourages flow, spontaneity and improves hand-eye coordination. It’ll also help with your creativity as well, as you’ll be able to see what’s possible.

It teaches you to trust your instincts and develop a more fluid drawing style. Don’t worry about mistakes; embrace them as part of the drawing exercise. You’ll be able to see you can come up with some expressive drawings that you might not have dreamt was possible previously.
Continuous line drawing is a great way to loosen up and explore new possibilities in your artwork. I recommend any sort of drawing tool for this exercise.
I recommend you do this exercise for 5 minutes.
Detailed Drawing
Next up, let’s dive into a drawing focusing on the details, concentrating on observation and precision.
Concentrate on capturing every intricate detail, whether it’s the wrinkles on a hand or the texture of an object. For the image below I drew all of the wrinkles and marks of my hand, not rushing the process.
By slowing down and paying close attention to your subject, you’ll sharpen your observational skills and enhance your ability to render realistic drawings.

Remember, patience is key here. Take your time whilst drawing, and don’t rush. Your final drawing may be with a piece of paper which is just lines, which is what it should look like.
Don’t focus on the final drawing but the journey of improved observation.
I recommend you do this exercise for 3-5 minutes.
Use Different Materials
Now, let’s get out of your comfort zone and experiment with different materials.
Whether it’s oil pastels, Posca pens, or even a classic paint and paintbrush, experimenting with new mediums can spark creativity and expand your artistic horizons.
Each material has its unique properties and challenges, offering fresh opportunities for exploration and self-expression.

So grab unconventional tools and get out of your comfort zone. You may be surprised by the different sorts of marks and mediums you can use to draw with!
If you don’t have any other drawing materials to use, choose a subject which you don’t usually draw. Like hands, cars to drawing from your imagination.
Simply put, this drawing exercise is about stepping outside your comfort zone.
I recommend you do this exercise for 5 minutes.
Ghosting and Practicing Lines
Time to refine our line work with the technique of ghosting and line practice.
This exercise involves “ghosting” your lines. This technique helps you develop smoother, more confident strokes.
Ghosting refers to practicing the motion of drawing 3 or 4 times, 0.5 – 1cm away from the paper, before committing on the 5th stroke.
This makes for more confident and smoother drawing strokes.

Place dots on the paper and draw from each of these dots. By committing to this exercise you’ll improve your line quality and control.
Remember to relax your hand and arm, and practice with intention. Draw from your shoulder, not your hand or elbow, and be confident with your strokes!
With each stroke, focus on precision and consistency.
I recommend you do this exercise for 3-5 minutes.
Draw Using the Opposite Hand
Now, let’s switch things up and challenge ourselves by using the opposite hand!
Drawing with your non-dominant hand may feel awkward at first, but it’s a valuable exercise to loosen up and for experiment with the potential of mark making.
Like some of these other exercises, it’s not about the final outcome, but the learnings behind it.

I love doing this exercise as it makes really interesting marks! I love how ‘imperfect’ these drawings are, and it steps me outside of my comfort zone and ‘perfectionist’ nature.
You’ll be amazed at how this simple switch can lead to unexpected breakthroughs in your artwork.
I recommend you do this exercise for 3-5 minutes.
Timed Expressive Drawing
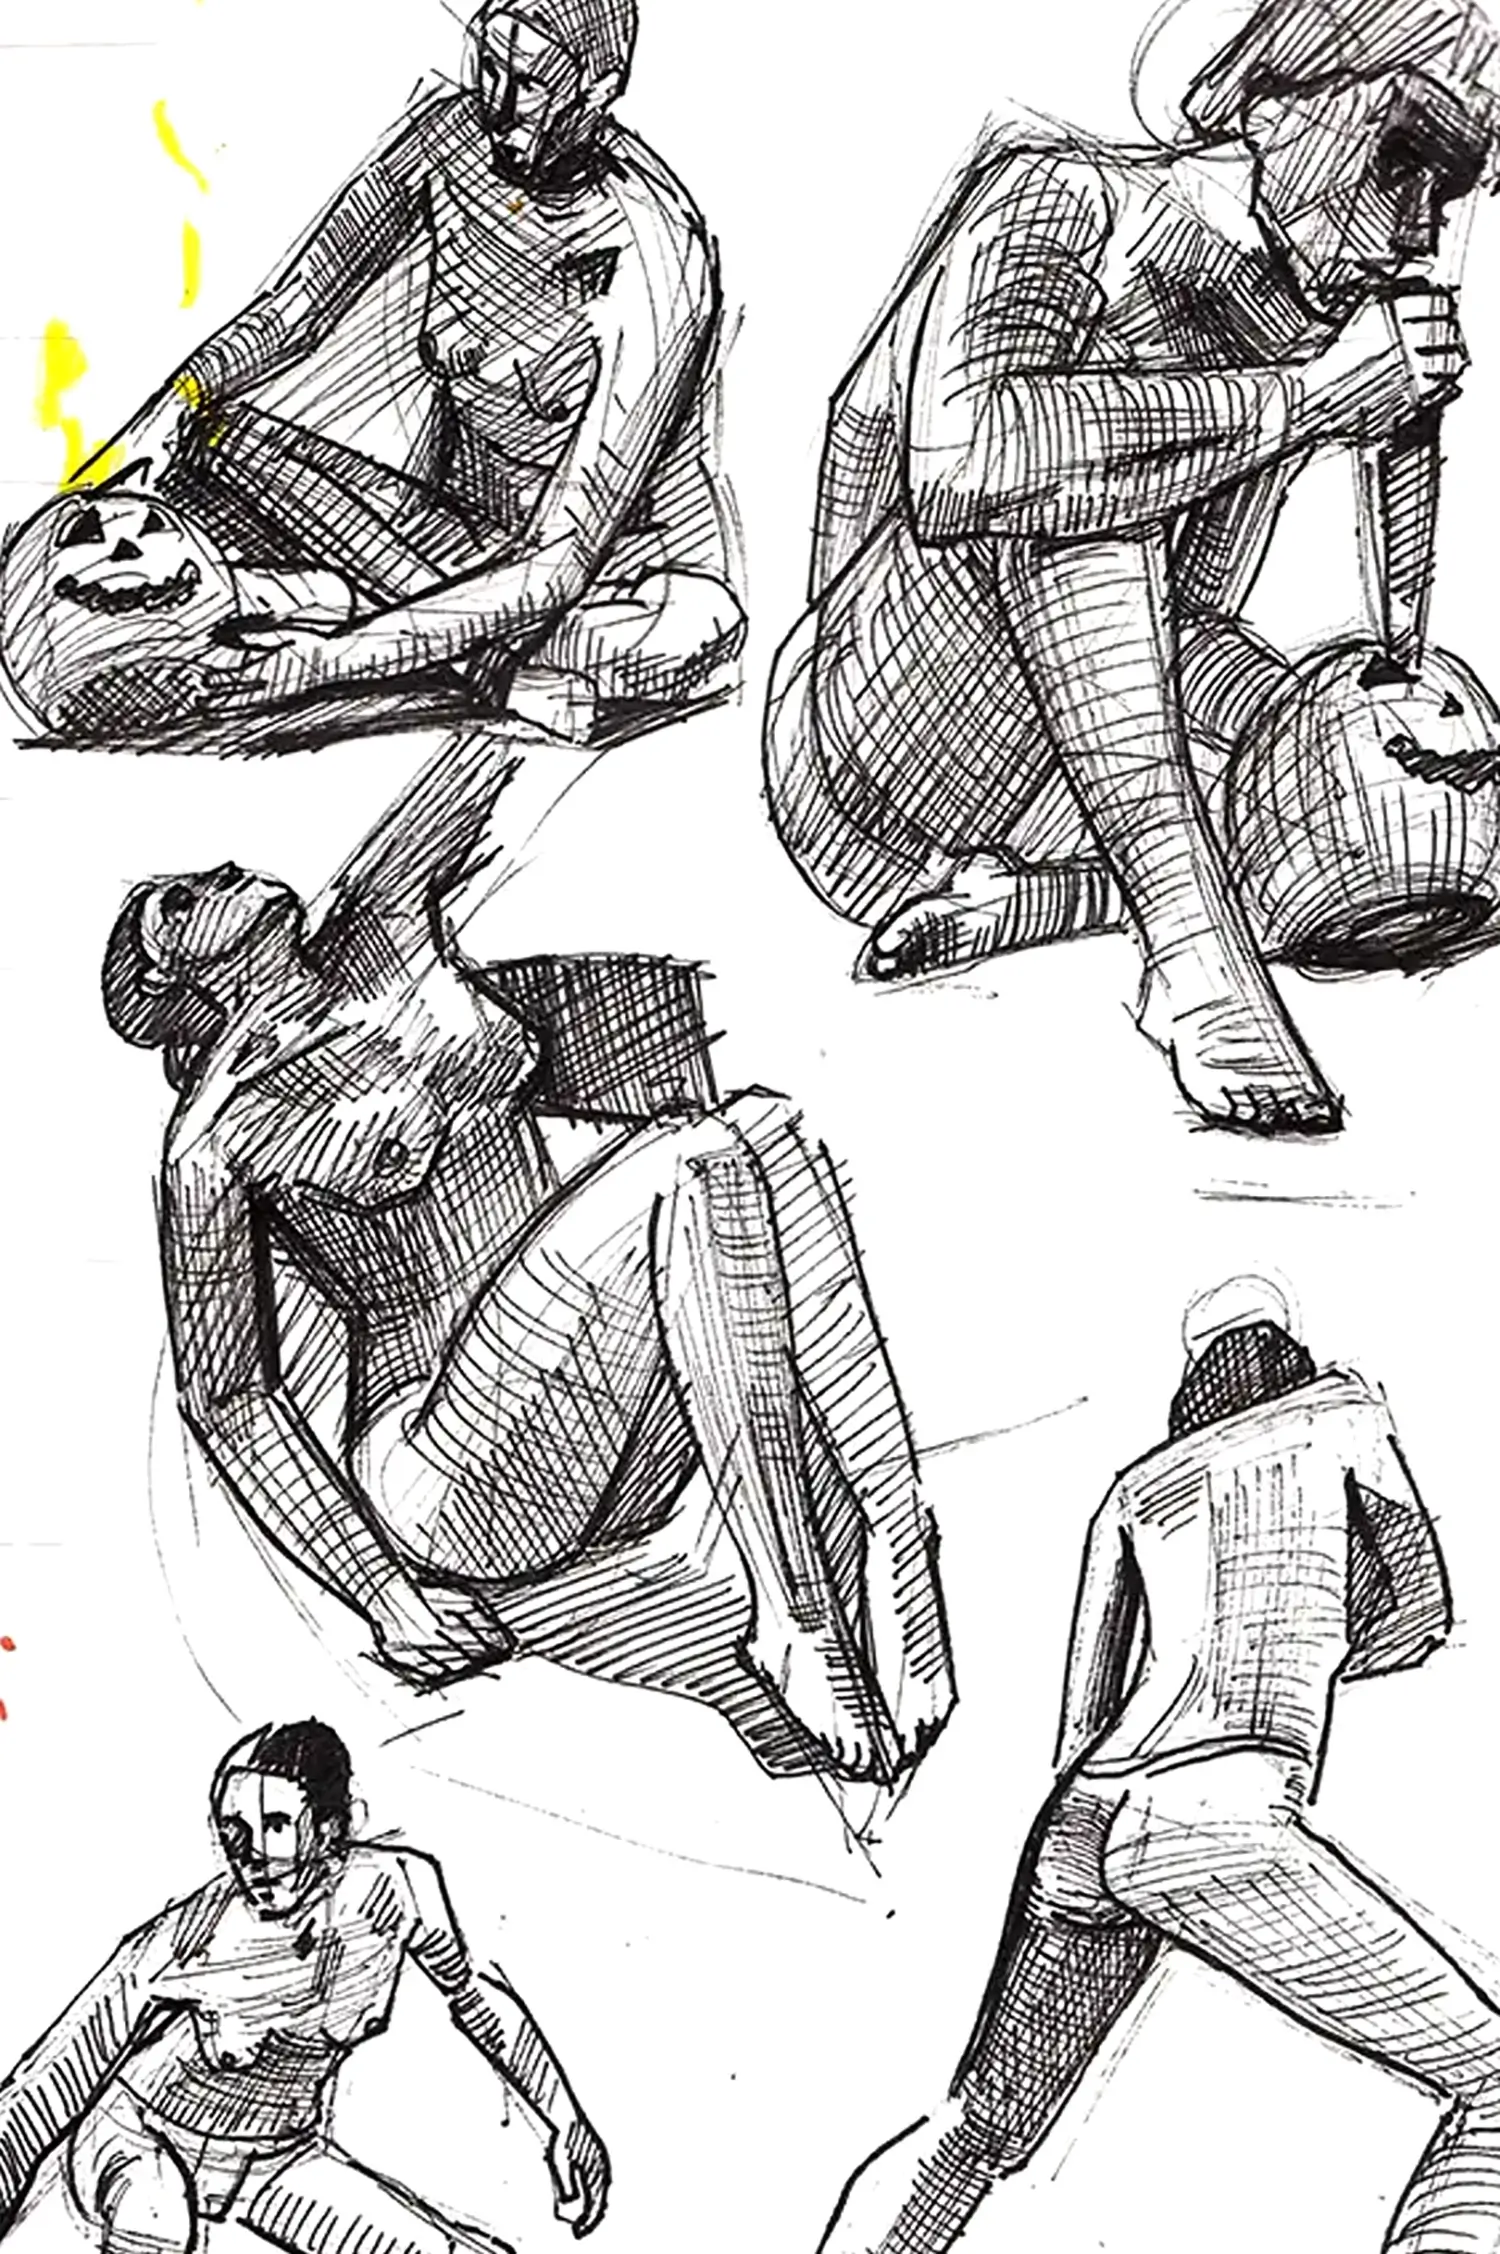
Next up with these drawing exercises for beginners, it’s time for some quick timed drawing. This is a great exercise to help you’re expressiveness!
Set a time limit and focus on capturing the essence of your subject with swift, energetic lines.
Place a time minute of 1 minute, 30 seconds to even 10 seconds per drawing.

This exercise is all about spontaneity and movement, so don’t worry about getting caught up in details. Instead, concentrate on capturing the overall gesture, expression, and mood of your subject.
Every object, subject or living being has a gesture and motion, so try and capture this within this exercise.
It’s a fantastic exercise for improving your observational skills, loosening up your drawing style, and injecting life and energy into your artwork.
Everything has a gesture. This exercise helps you see and draw those gestures, making your art feel more alive.
I recommend you do this exercise for 5-10 minutes.
Tonal Drawing
Instead of relying on lines, focus solely on shading to create depth, form, and dimension in your drawings.
Tonal drawing challenges you to see and understand light and shadow, allowing you to convey volume and texture more effectively. Don’t cheat by drawing with lines now!

As you’re not using lines, you’ll see how you can capture a drawing using tones, concentrating on your shape design within your drawing. I think you’ll be satisfied by the final outcome of your drawings!
Experiment with different shading techniques, and enjoy the process of exploring the subtle nuances of tone in your artwork.
I recommend you do this drawing exercises for beginners for 10 minutes.
Observational Drawing
Finally, let’s finish up by drawing from observation, one of my favourite drawing exercises to practice in my sketchbook!
Pick any object around the home, and draw what you see, not what you think you see. I recommend you select objects such as coffee mugs, your phone to a computer mouse.

The objective here is to select simple objects, without complicated structures. As you build up your skill, progress to more complex subjects as you gain more confidence.
Try and draw what you see, with a focus on proportions, accuracy and drawing foundations.
I recommend you do this exercise for 10 minutes.
Drawing Exercises For Beginners – Final Thoughts
I hope you’ve enjoyed these drawing exercises for beginners to help improve your skill!
By committing to these exercises on a daily or regular basis you’ll be able to see big improvements in your accuracy, proportions and overall drawing skill.
Let me know what you thought of this blog post by commenting below!
If you liked this article, be sure to have a look at these other beginner drawing exercises to further improve your drawing skill! Or see how you can create your own self-portrait with this excellent step by step tutorial.
Many thanks for listening and visiting my blog today. You can follow what I’m up to on my Twitter, Facebook, or Instagram pages, I’ll really appreciate it if you do, and don’t be afraid to say hi to me! Many thanks again, and have a great day!
 26th March 2024
