Do you struggle getting your drawings to look accurate?
Whether it’s a simple chair or a hand, getting the shapes right can feel overwhelming.
But what if I told you there’s one powerful trick you can use to take your drawings to the next level?
Stick around because I’ll show you a drawing exercise for beginners using negative space. That by the end, you’ll be seeing and drawing with a whole new perspective!
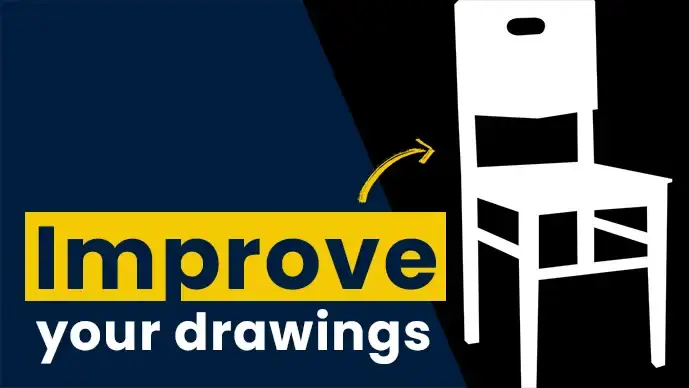
Drawing A Chair Exercise
Let’s start with something simple to kick start this drawing exercise for beginners article – a chair.
I’ve cropped the reference photo so that you can focus on the negative shapes around the chair, rather than the chair itself.
By doing this, we’ll be concentrating only on the space between the legs and the backrest. This technique helps us to break down the structure and draw with more accuracy.
Instead of focusing on the chair, let’s shift our attention to the negative space between the chair itself, legs and the backrest.

These spaces – like the areas between the legs, form unique shapes that are just as important as the chair itself.
When you start drawing these spaces, it forces you to see the relationships between the parts more clearly.
When you practice drawing negative space, you stop relying on your assumptions. You draw what something ‘should’ look like, and instead, you start observing what’s actually in front of you.
This is especially helpful when you’re drawing from life, where proportions can be tricky, and perspective can be overwhelming.
It makes you concentrate on abstract shapes, and actually helps you form the subject pretty well!

By focusing on the negative space, you begin to capture the real proportions and structure of your subject, which leads to more accurate drawings in the future.”
Don’t forget to shade the negative spaces, not the chair itself.
By shading around the chair’s legs, you’ll give it depth and volume, making it appear more three-dimensional.
The more you practice this technique, the easier it will be to draw anything with better proportions, whether it’s from a photo or directly from life.
Drawing A Hand Exercise
Now, let’s take it up a level with a subject that challenges most artists: the hand.
Drawing hands can be difficult for a lot of people, especially when it comes to getting the proportions right and capturing the subtle angles of the fingers.

But with the technique of focusing on negative space, we can break down even the most complex parts of the hand, like the ‘OK’ gesture, into manageable pieces.
I’ve cropped the image of the hand so that we’re zooming in just on the tips of the fingers and the negative spaces between them.
By focusing only on these shapes, we can isolate the most important areas and see the structure of the hand in a whole new way.
As you start drawing, pay attention to the spaces between the thumb and the index finger, the gaps between the fingers, and the shapes formed by the background.
Remember, concentrate on drawing the negative spaces between the fingers.
This allows you to map out the correct proportions and angles without being distracted by the details of the hand itself.

By isolating these negative shapes, you’ll naturally improve your accuracy and capture the essence of the hand more clearly. And this is a skill that applies to much more than just hands! It’ll make drawing figures, portraits, and even animals much easier!
This is because you’re training your eye to focus on the relationships between parts, rather than just drawing outlines.
Now, just like with the chair, shade the negative spaces, not the hand itself. By shading the areas between the fingers and around the hand, you’ll start seeing the structure emerge in a more defined way.
This helps give depth to the hand and brings it to life.
Time to challenge yourself with a new subject that’ll elevate your drawing even more – trust me, this one’s a game-changer.
Drawing Scissors Exercise
Now for the final exercise: scissors and a ribbon. Once again, I’ve cropped the image to highlight the negative spaces between the ribbon and the scissors.
This will give you another chance to practice identifying the shapes that exist in the space around your objects.

As you draw, pay attention to how the scissors overlap with the ribbon. The areas between the ribbon and the spaces between the scissors handles are essential to the overall composition.
Focus on these negative spaces, and you’ll start to see the overall structure and balance of the objects without relying on outlining the scissors or the ribbon directly.
Shade the negative spaces carefully. You’ll notice that the shading around the objects defines their shapes and helps create a stronger, more dynamic drawing.
The more you do this, the easier it’ll become to tackle more complex scenes, and you’ll get a much clearer understanding of how objects interact with each other.

How Did You Find These Negative Space Drawing Exercises?
Hopefully you can see just how powerful this drawing exercise for beginners is!
Once you get comfortable with this technique, you’ll notice your drawings becoming more accurate, more dynamic, and easier to tackle – whether you’re working from life, photos, or imagination.
Negative space drawing is an incredibly powerful technique that can enhance your skills and give your artwork a whole new dimension.
By focusing on the space around your subject rather than the subject itself, you can sharpen your observation and bring greater accuracy and depth to your drawings.
Whether you’re a beginner looking to build a solid foundation or an intermediate artist wanting to refine your technique, incorporating negative space into your practice is an invaluable exercise.
If you’re ready to dive deeper into improving your drawing skills, here are a few resources to help you along the way:
- 5 Beginner Drawing Mistakes: You need to avoid at all costs
- Daily Drawing Exercise For Beginners: How To Improve Your Drawing Skills
- How To Draw A Self Portrait Drawing: Step-By-Step Sketching Tutorial
For more visual learning, check out these videos:
- Watch a Step-by-Step Negative Space Drawing Tutorial: Watch the long form here
- Portrait Drawing Time Lapse – Learn by Watching: Let your creative juices flow!
Keep practicing and don’t forget to experiment with different subjects and techniques! The more you practice, the more confident you’ll become with your drawing skills. Happy drawing!
Many thanks for listening and visiting my blog today. You can follow what I’m up to on my Twitter, Facebook, or Instagram pages, I’ll really appreciate it if you do, and don’t be afraid to say hi to me! Many thanks again, and have a great day!
 13th March 2025
