I’ve definitely fallen face first into many of these portrait drawing mistakes…
The great news is, you don’t need to fall into the same god-forbidden traps as I have.
Detest portrait drawing? Are you unsatisfied with your portrait drawings? Instead of drawing faces confidently, does yours make you want to slam your head into the desk?
I don’t blame you, I’ve certainly been there myself.
But no fear as this article is for you!
The real reason is that most beginners fall into a few common mistakes that can hinder your growth as an artist.
In today’s article, I’m sharing seven common portrait drawing mistakes beginners make – and how you can fix them.
Even just correcting one of these will take your portraits from “meh” to seriously impressive pieces of art – so let’s get started with the first common portrait drawing mistake.
Adding Details Too Soon
A common portrait drawing mistake I see a lot of beginners make, is that they jump straight into drawing the details before establishing the head and its proportions.
They detail drawing the eyes, drawing the nostrils, and every intricate detail of the mouth.
Sure, who doesn’t love detailing?
I certainly do and it’s a great part of any drawing. However, without proper structure and foundations in place, your portrait drawings can often look wrong.
Think of drawing like a pyramid: start with the big shapes first, like the planes of the face to the head tilt. Before moving onto the facial structure, the mouth placement, and then the finer details.
Basically, don’t even think about the eyelashes or nostrils until the latter stages of any portrait drawing.
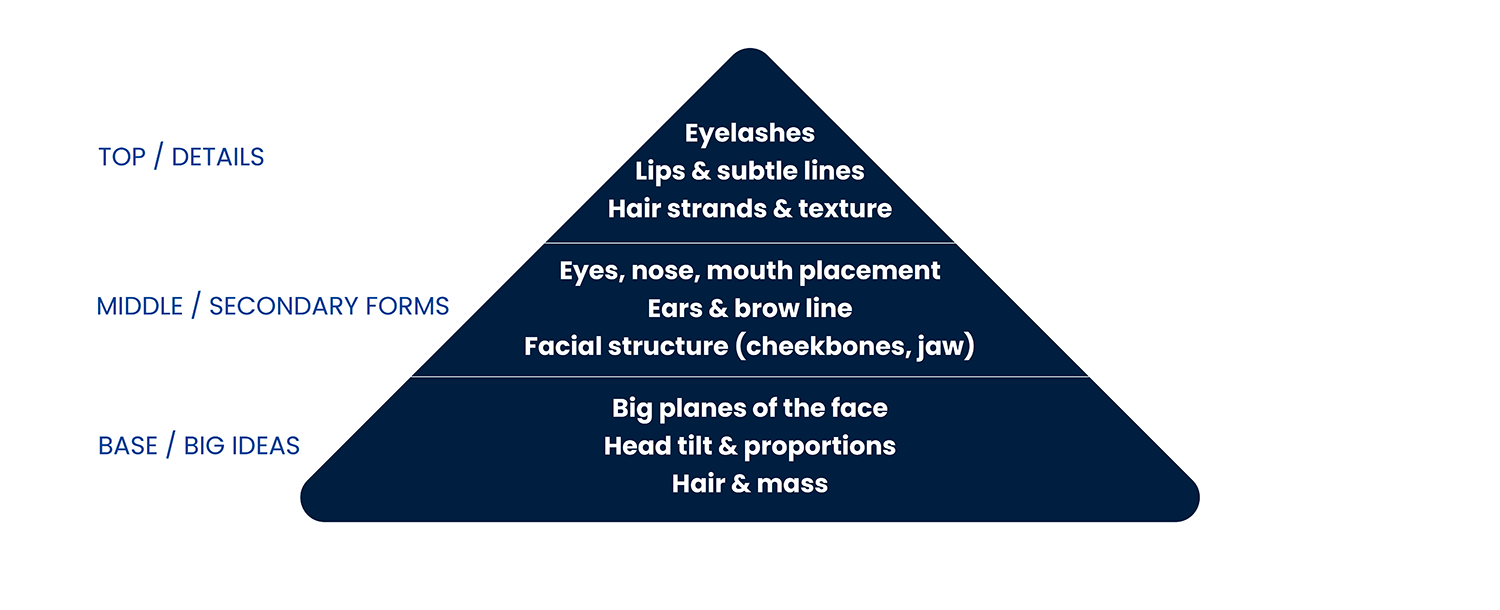
The eyes are fun, the nose looks simple, and the mouth seems easy, but if the face proportions are off, your details are locked in place and correcting them becomes pretty difficult to correct.
Start with the skull, jawline, and general flow of the face. Once the foundation is solid, think about where the placements sit, in relation to that of perspective.
The details will then naturally fit and your portrait will feel believable.
If you want more help with structuring your face so you can build the foundations before committing to the details, this video will help you.
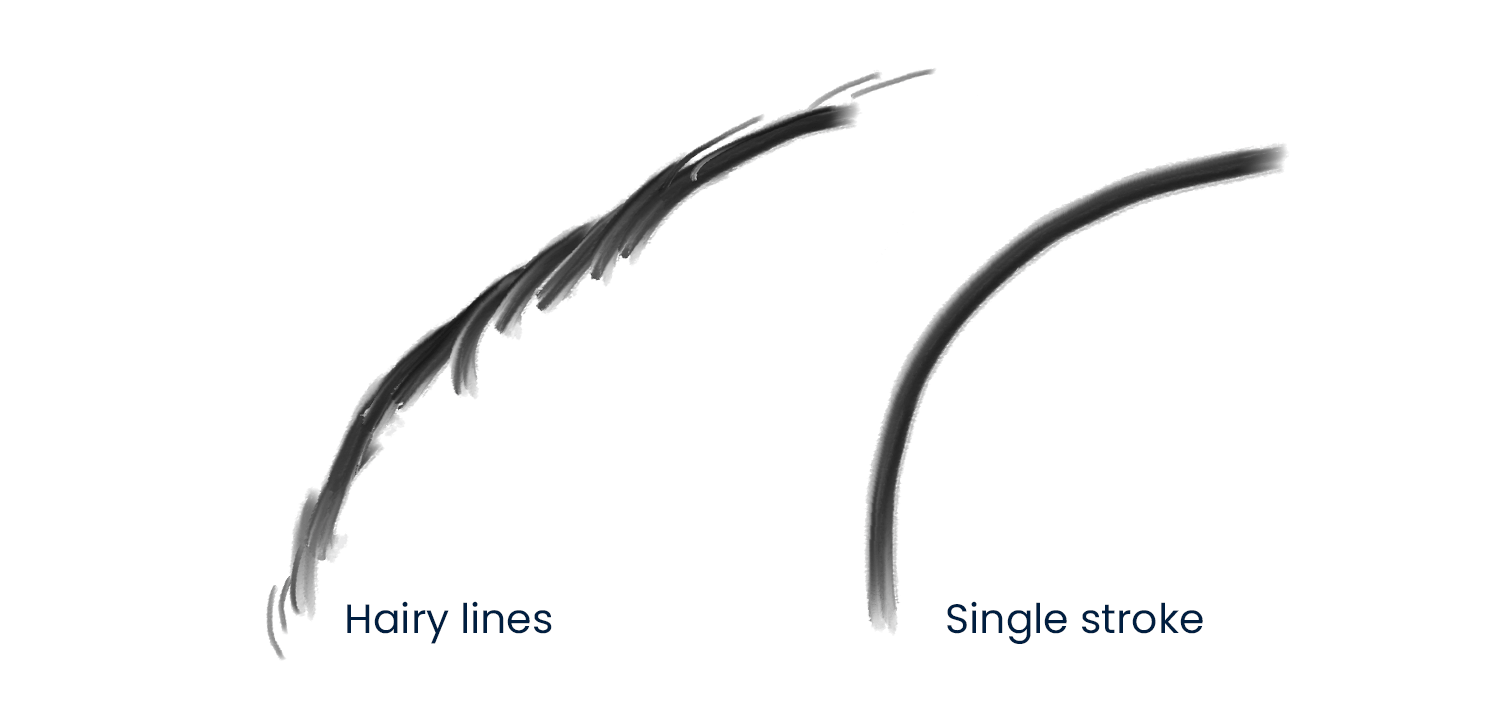
Drawing Hairy Lines
“Hesitant, scratchy lines” — or what I call “hairy lines” are dreaded drawing trap. These are repeated short strokes that create messy drawings, are the devil of good line quality, and should be avoided.
Instead, practice confident, deliberate strokes. Ghost your lines first, hovering your pencil over the paper three or four times, before committing on the fifth stroke.
You can also practice this drawing exercise by drawing dots on your page, and connecting them in a smooth motion with your whole arm, not just your wrist.
It can feel awkward at first, but this builds control and produces clean, polished lines.
Stick around, because in a minute I’ll show you a simple exercise that trains your arm for smooth, confident lines in under five minutes.
Lacking Basic Structure
Every feature sits on a skull. Cheekbones, jaw angles, brow ridges — they all define the placement of eyes, nose, and mouth.
Ignoring this leads to flat, stiff faces.
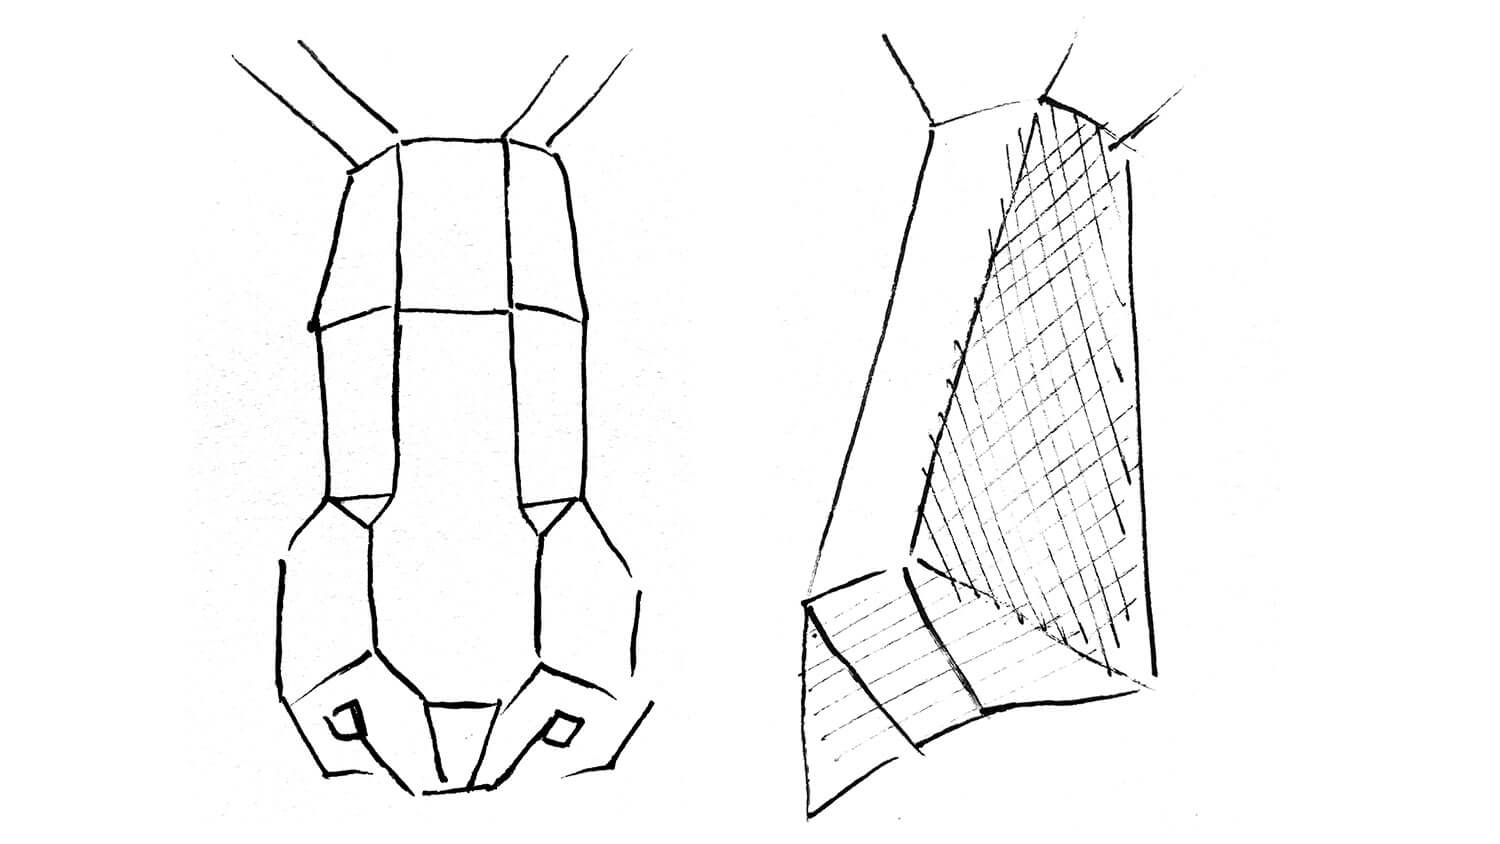
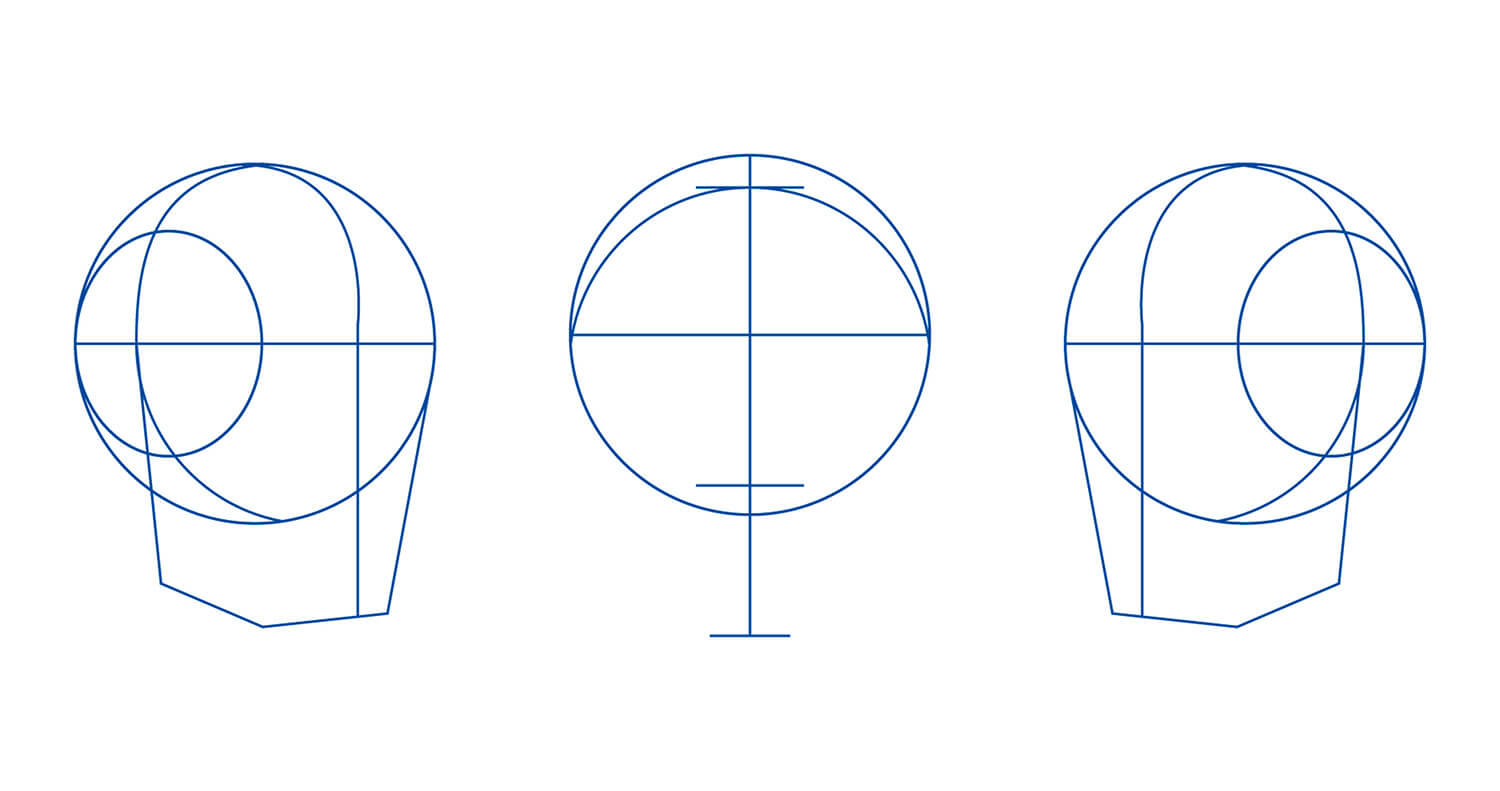
Use the Andrew Loomis method: start with a circle, add brow lines, jaw lines, and connecting planes. Build and sculpt the portrait from there.
Even a light sketch of the skull underneath guides proportions, placement, and shadows.
This will make your drawings look more believable and real.
Not Rotating the Paper
Some lines are impossible to draw comfortably if your wrist or arm is at an awkward angle.
I naturally draw diagonal lines better from left to right. If you feel like you’re forcing yourself to draw a particular line, this will hurt your line quality.
Try it out for yourself at home: draw different angle lines in your sketchbook and notice the quality of your lines. Now compare your line quality after rotating your paper.
Not only does it make your drawing more comfortable on your wrist and hand, it makes for better drawings.
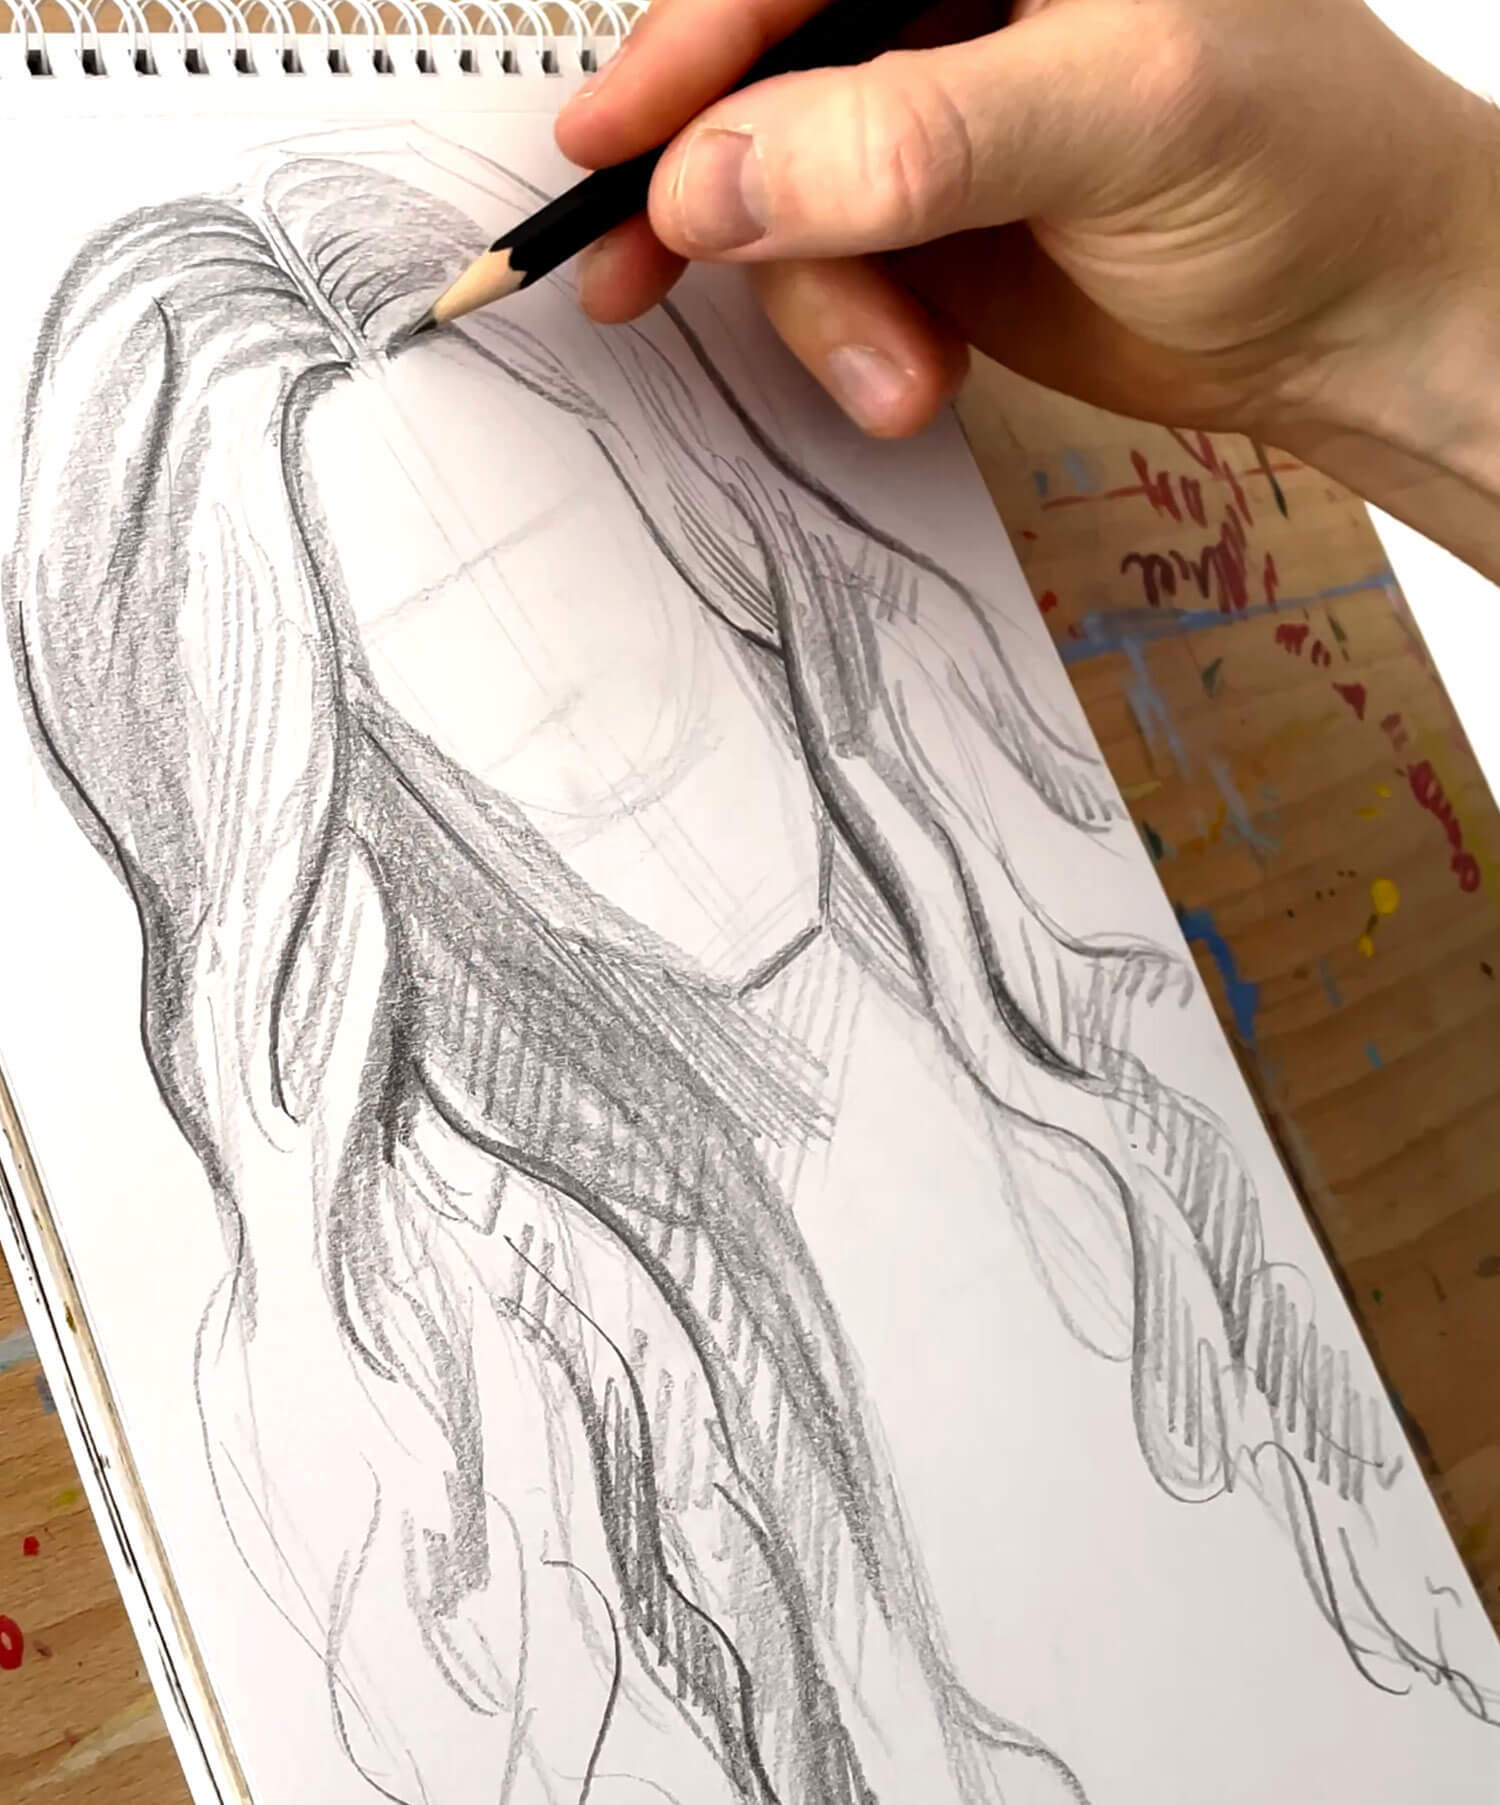
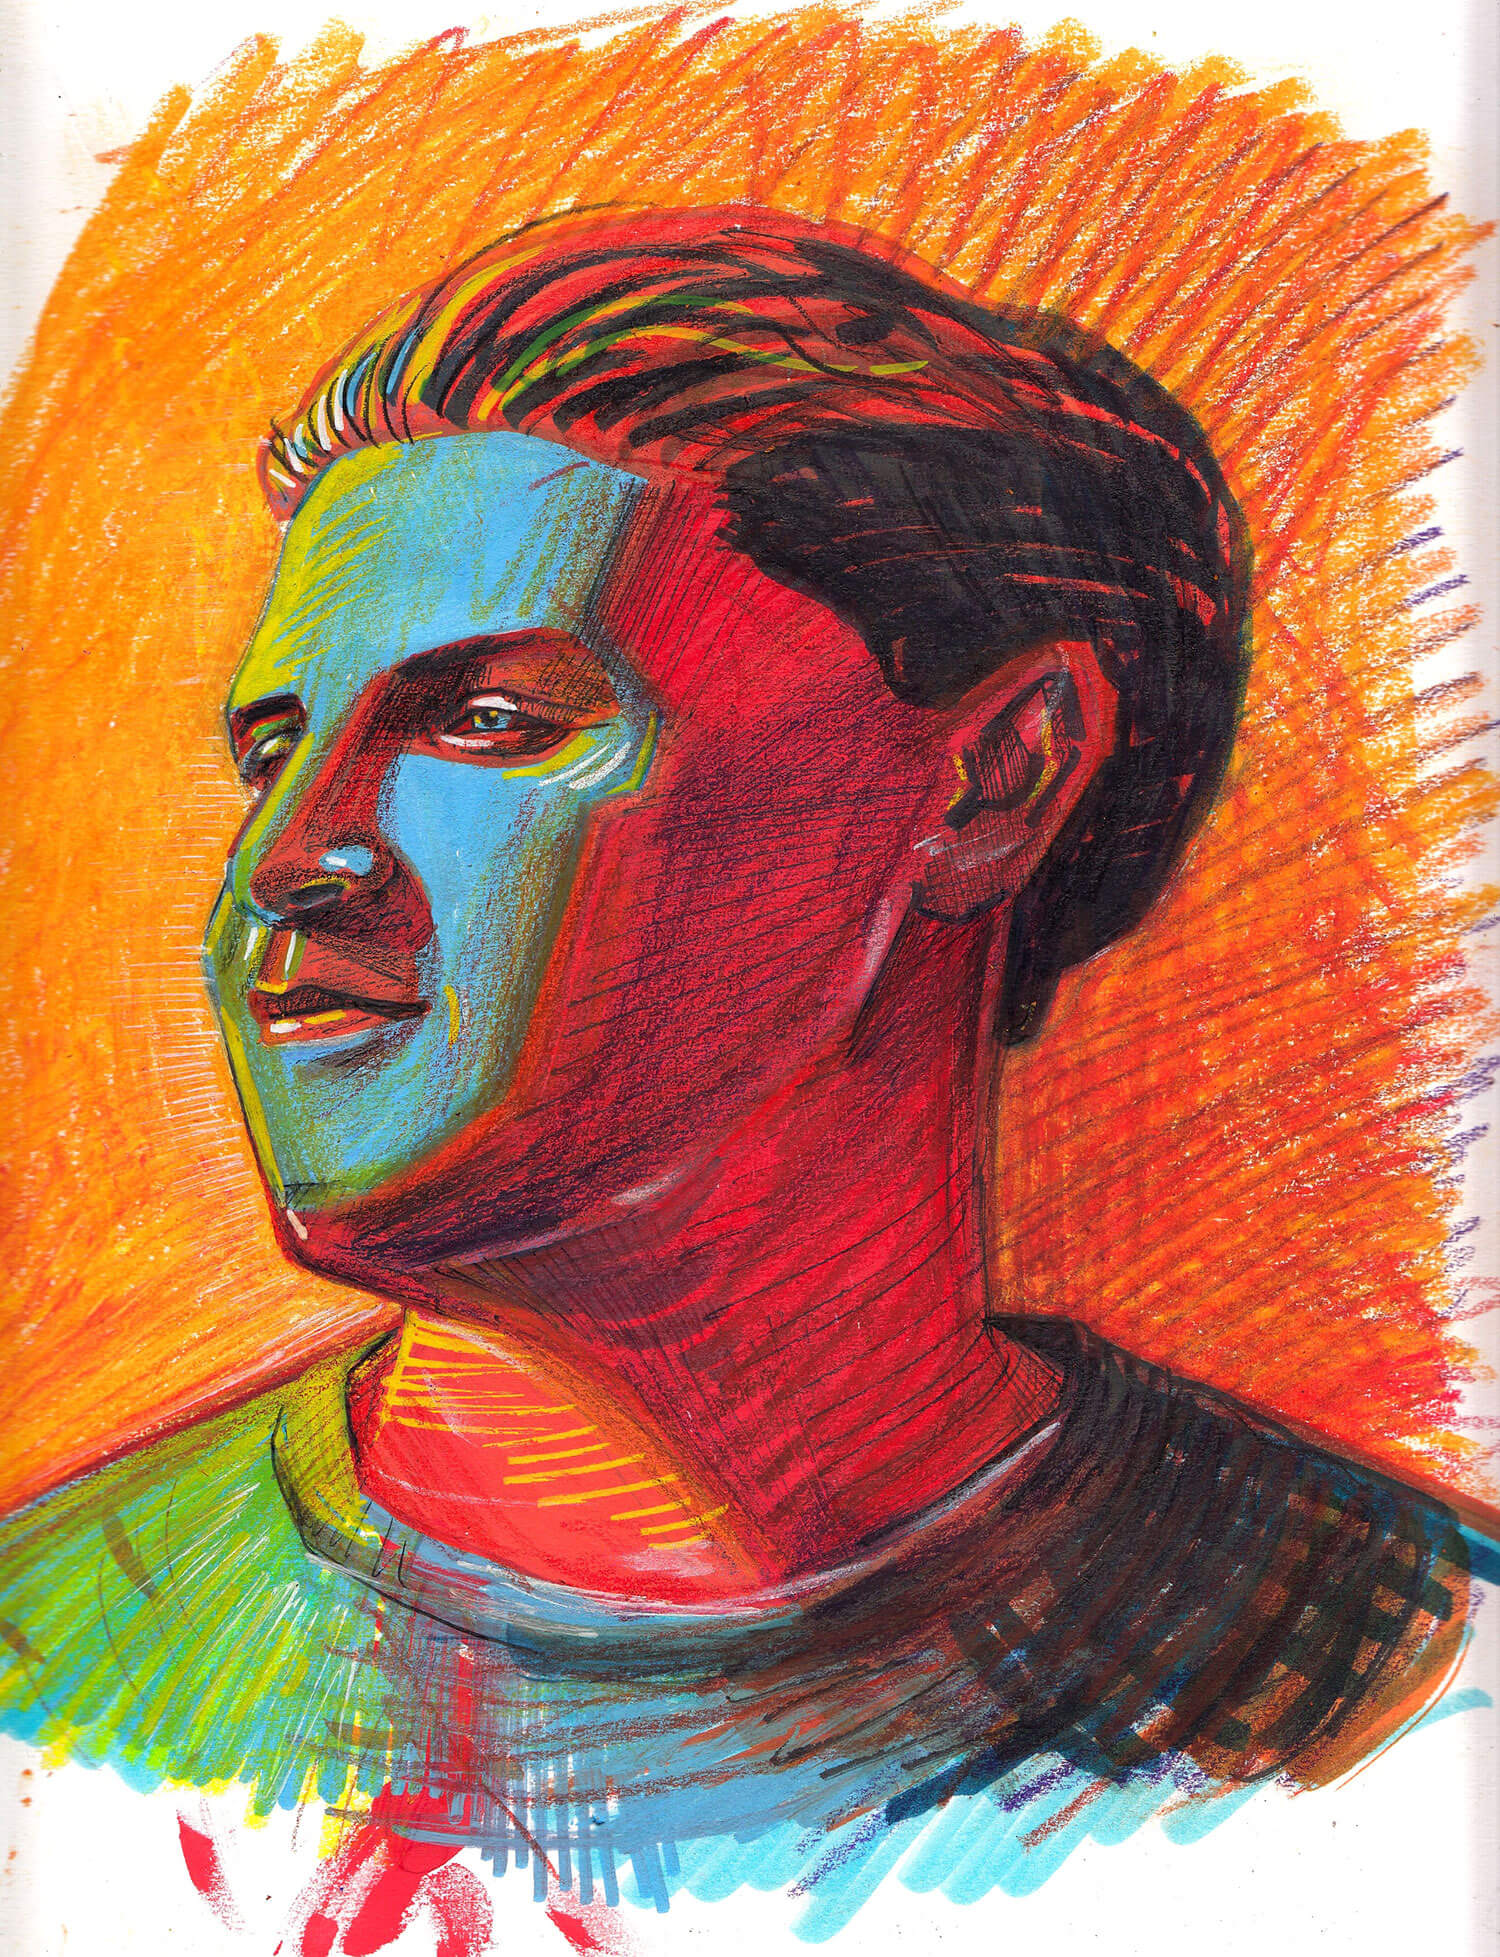
In the drawing above where I’m drawing hair, I will rotate my paper numerous times so it’s comfortable for me to draw. Turning the paper clockwise and anti-clockwise for best drawing angles.
Avoid commit this common beginner mistake to not do so!
Rotate your paper so your hand and arm can move naturally. Lines become smoother, curves more elegant, and drawing is more comfortable.
Outlining Features Heavily
Heavy outlines flatten the face.
Eyes, lips, and noses are three-dimensional: the eyeball protrudes, the lips curve around the mouth, and the nose has a bridge and tip that cast subtle shadows.
Suggest edges with shading, not thick lines. Many edges are soft, partially lost in shadow, or blend into surrounding forms.
Your portraits instantly feel more 3D and realistic when you rely on tone rather than outlines.
Comment below with the part of portrait drawing you find trickiest — I read every comment and it helps me make better tutorials for you.
Not Adding Shadows
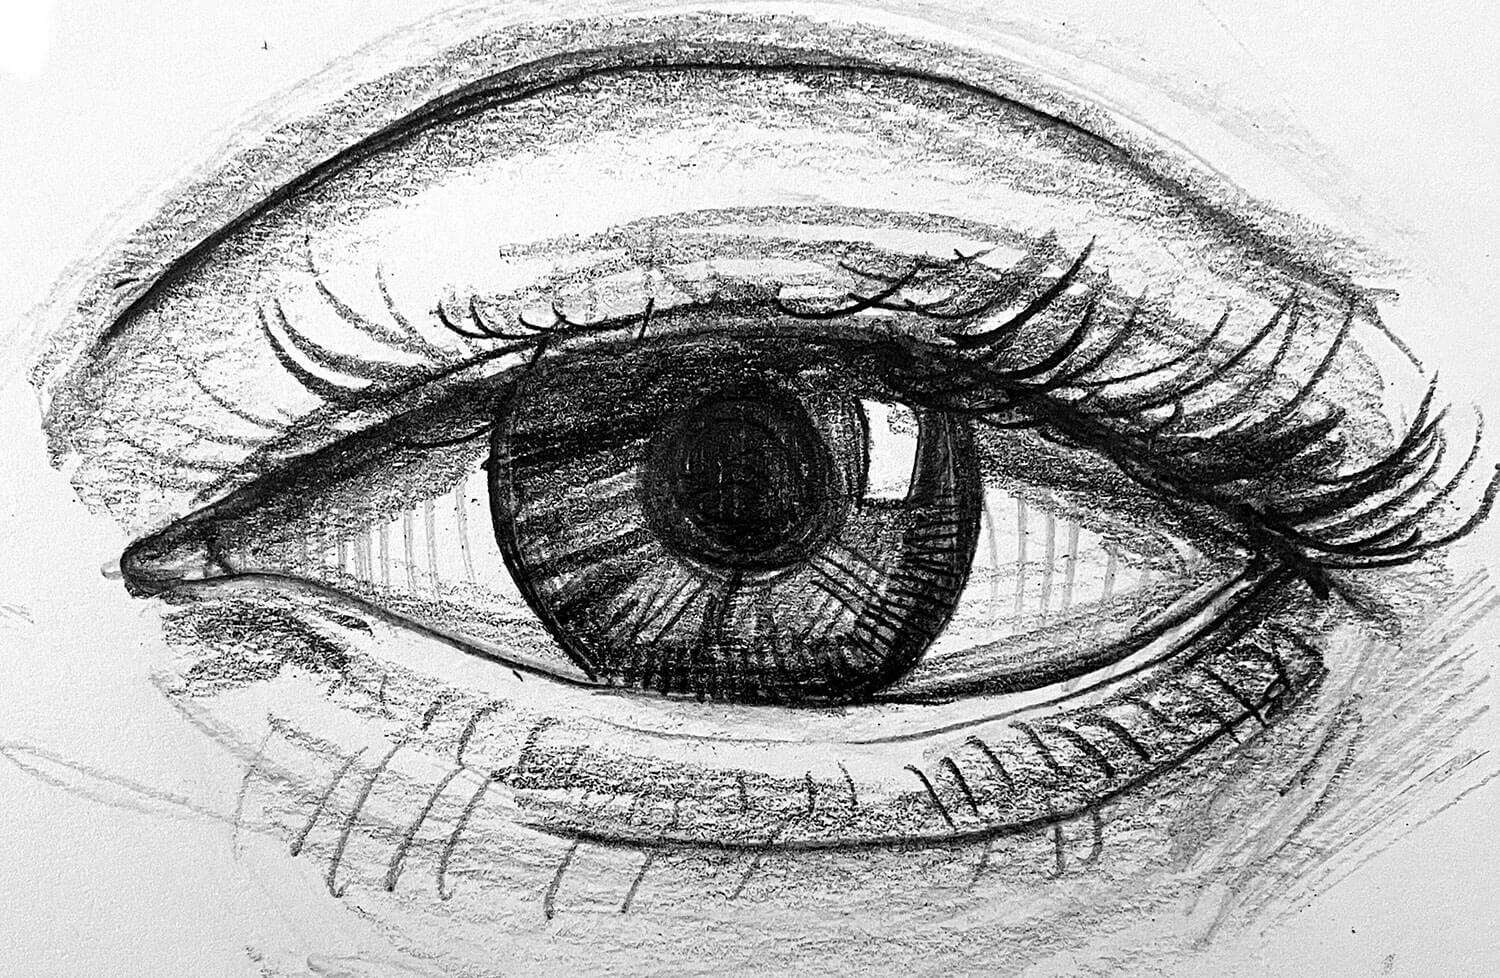
Skipping shadows, especially in the eyes, teeth, and around the nose, flattens your drawing.
Eyes aren’t just white circles — there’s the shadow beneath the top eyelid, the roundness of the eyeball, and the eye socket itself.
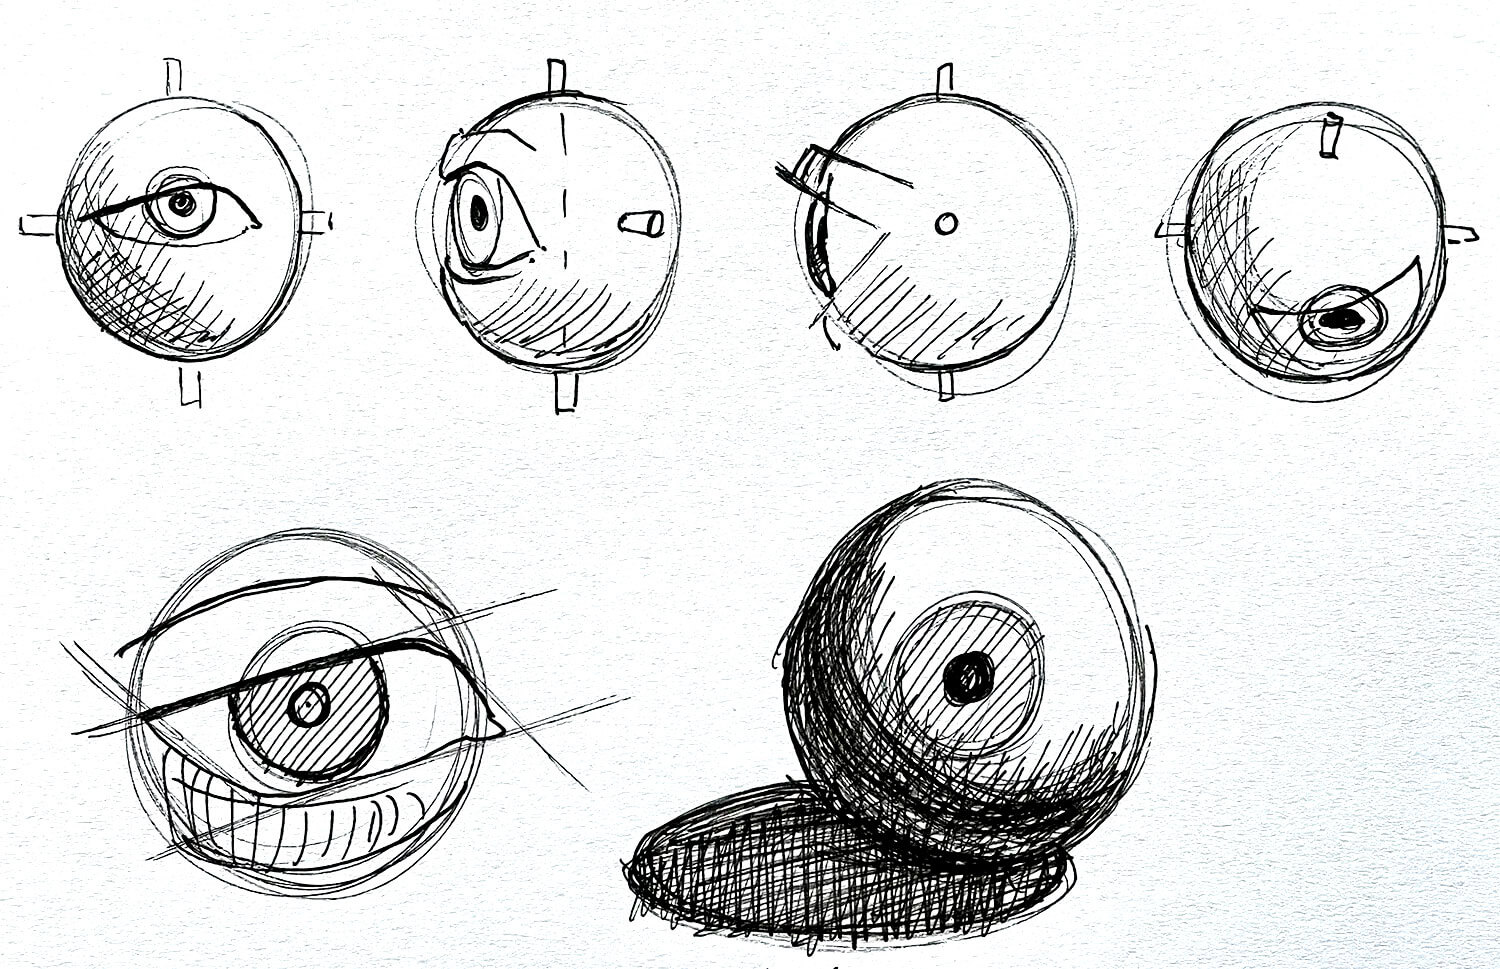
Teeth aren’t flat either — they follow the curvature of the mouth and cast subtle shadows.
Observe where shadows fall and build your values carefully. Highlights and mid-tones are important, but shadows give your portrait depth and life.
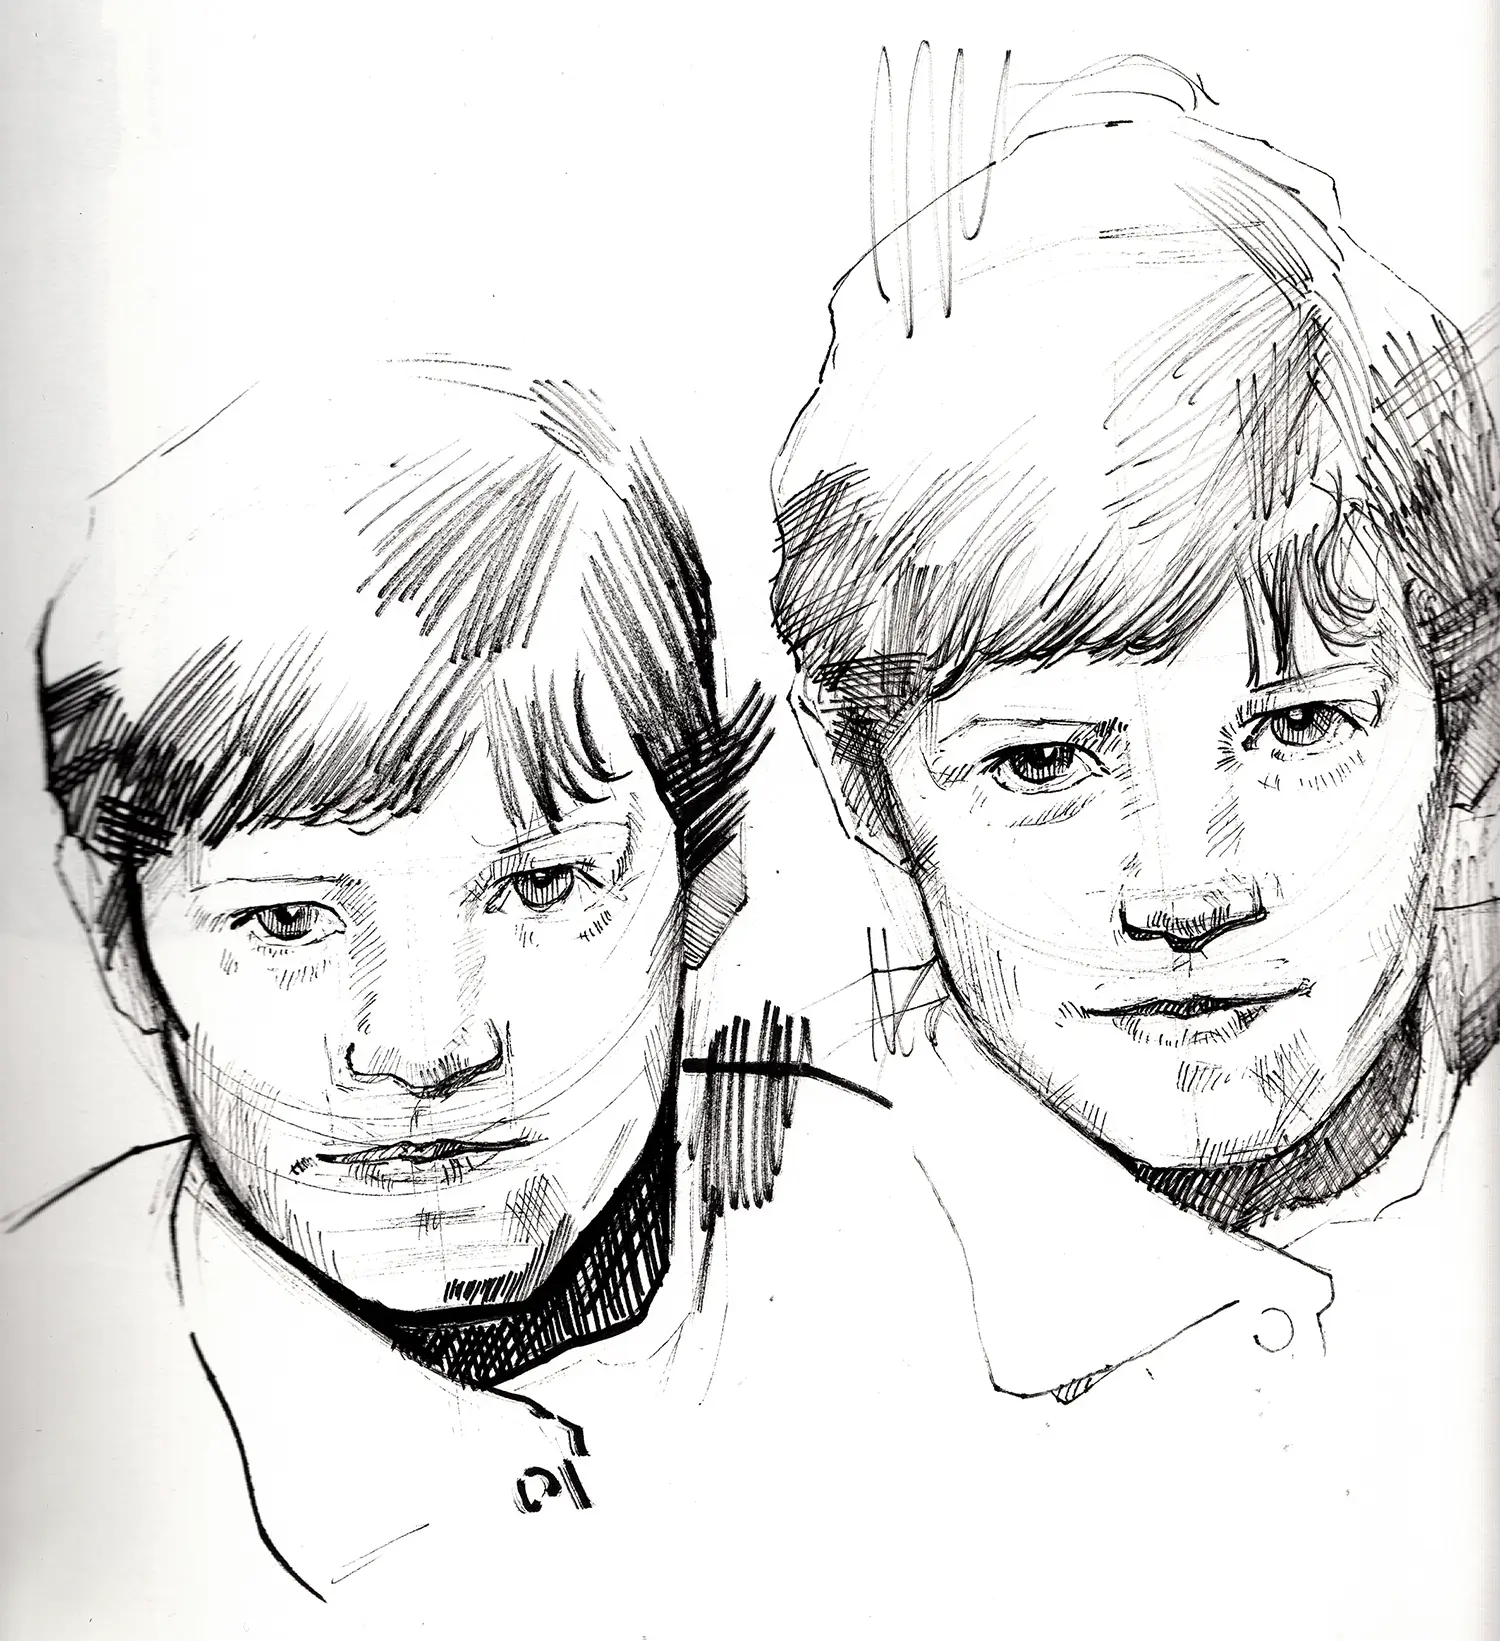
Avoiding Studying the Masters
Trying to figure everything out on your own slows progress. Studying great portrait artists is a shortcut to understanding form, light, and expression.
Look at how they handle structure, shadows, and proportion.
Studying their work for practice teaches techniques you may never discover otherwise.
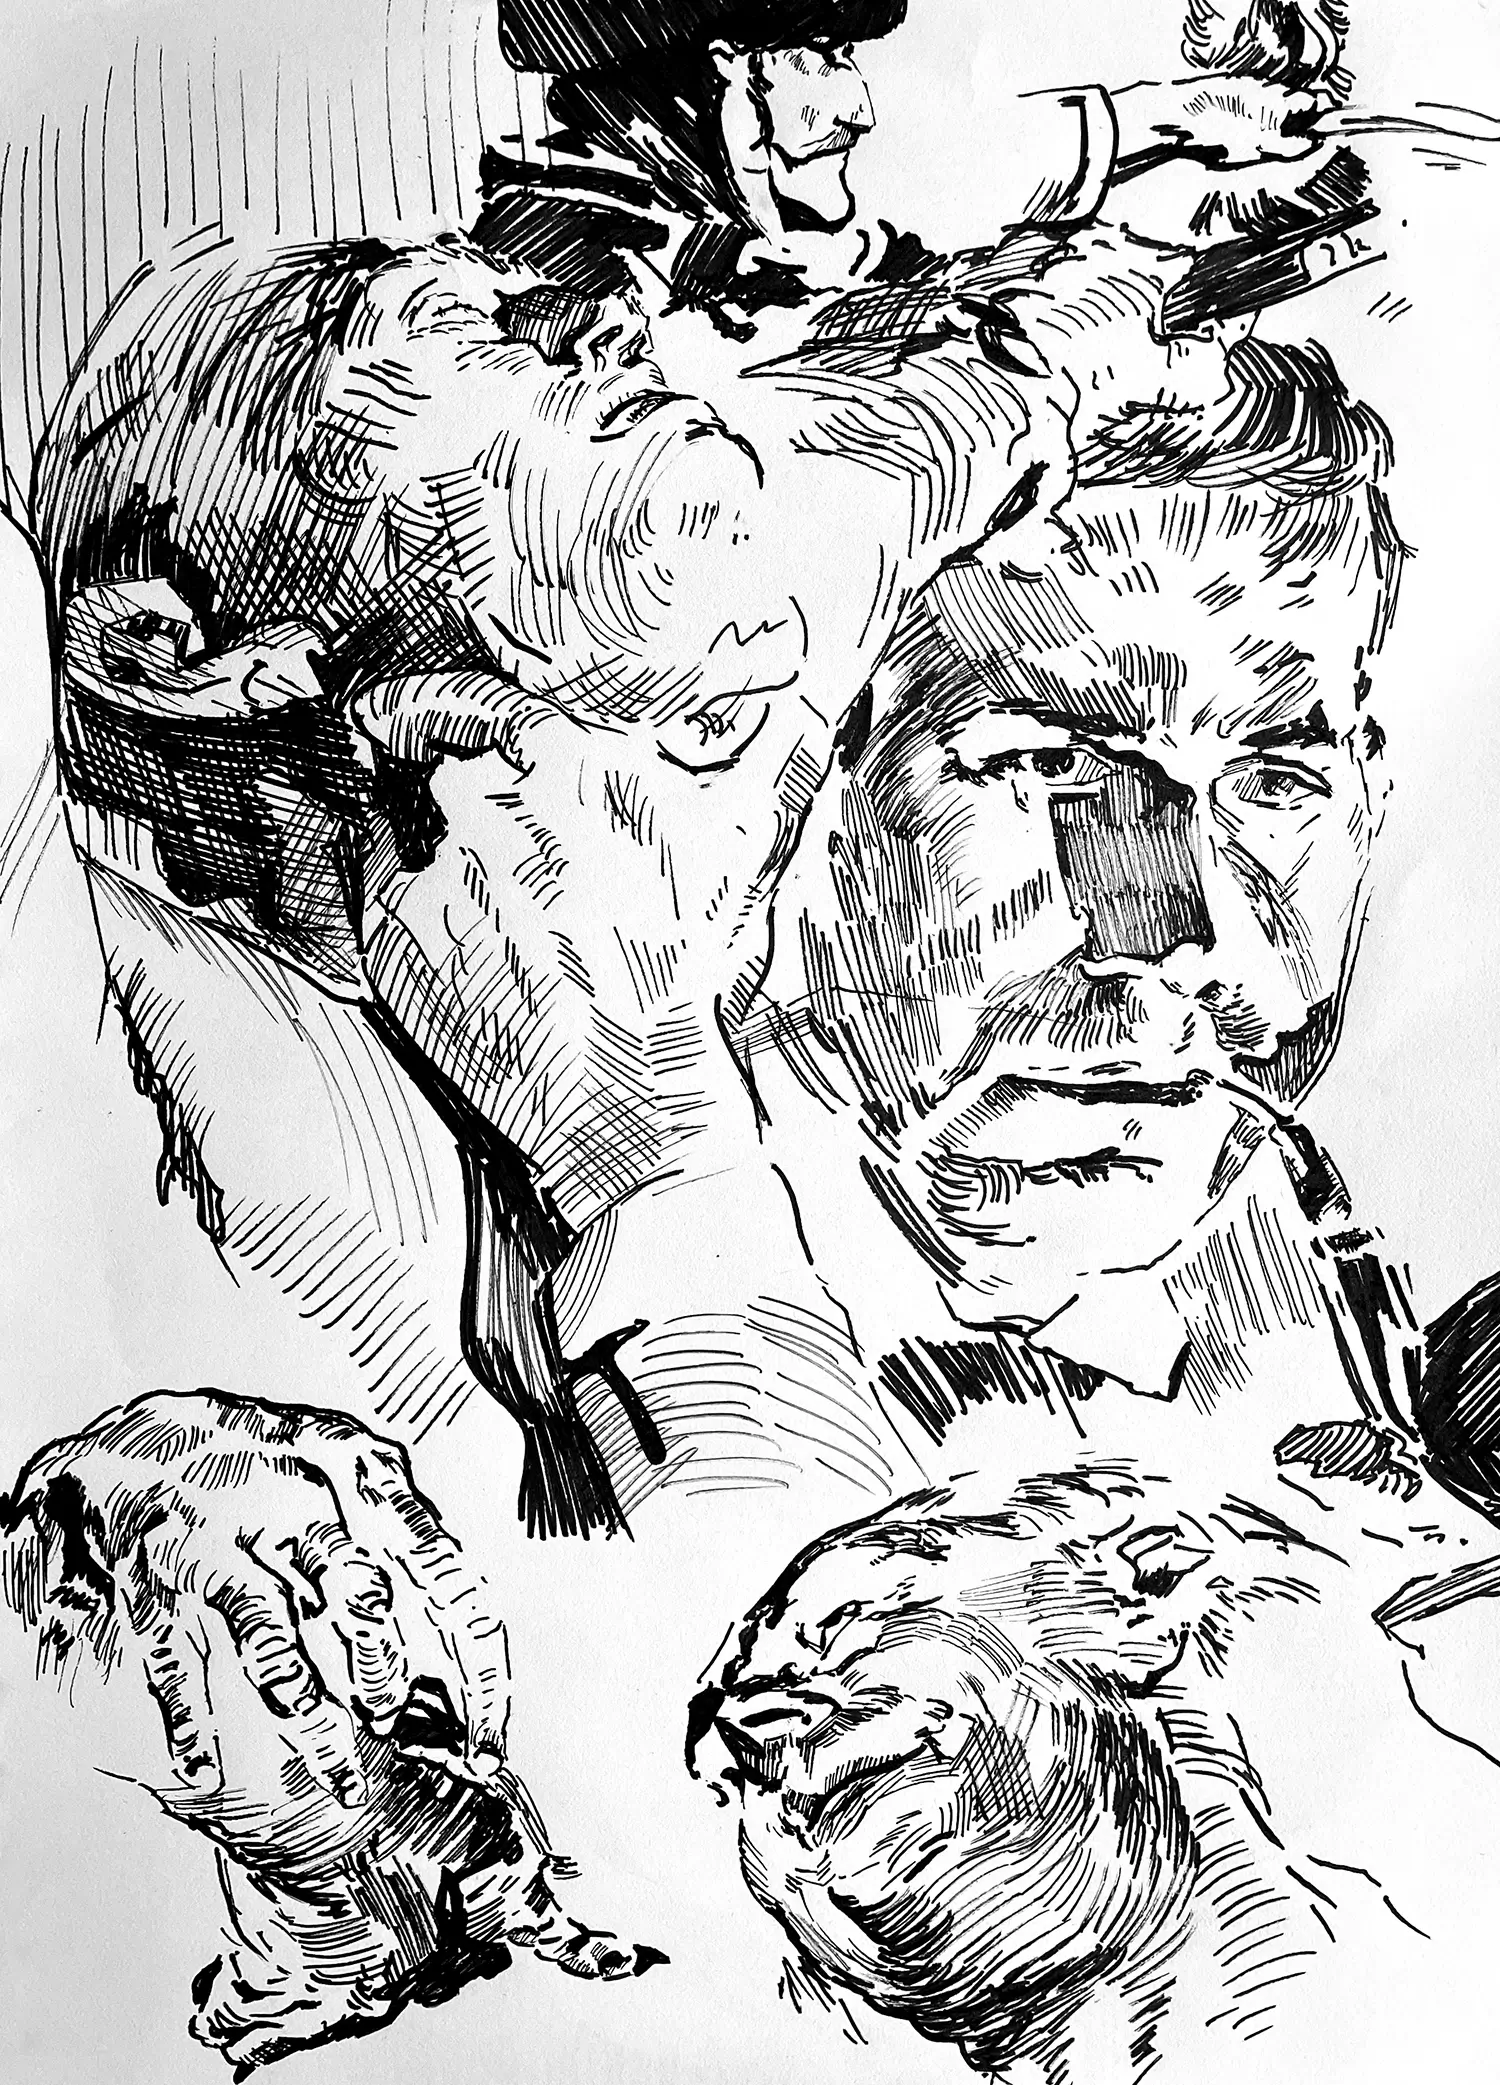
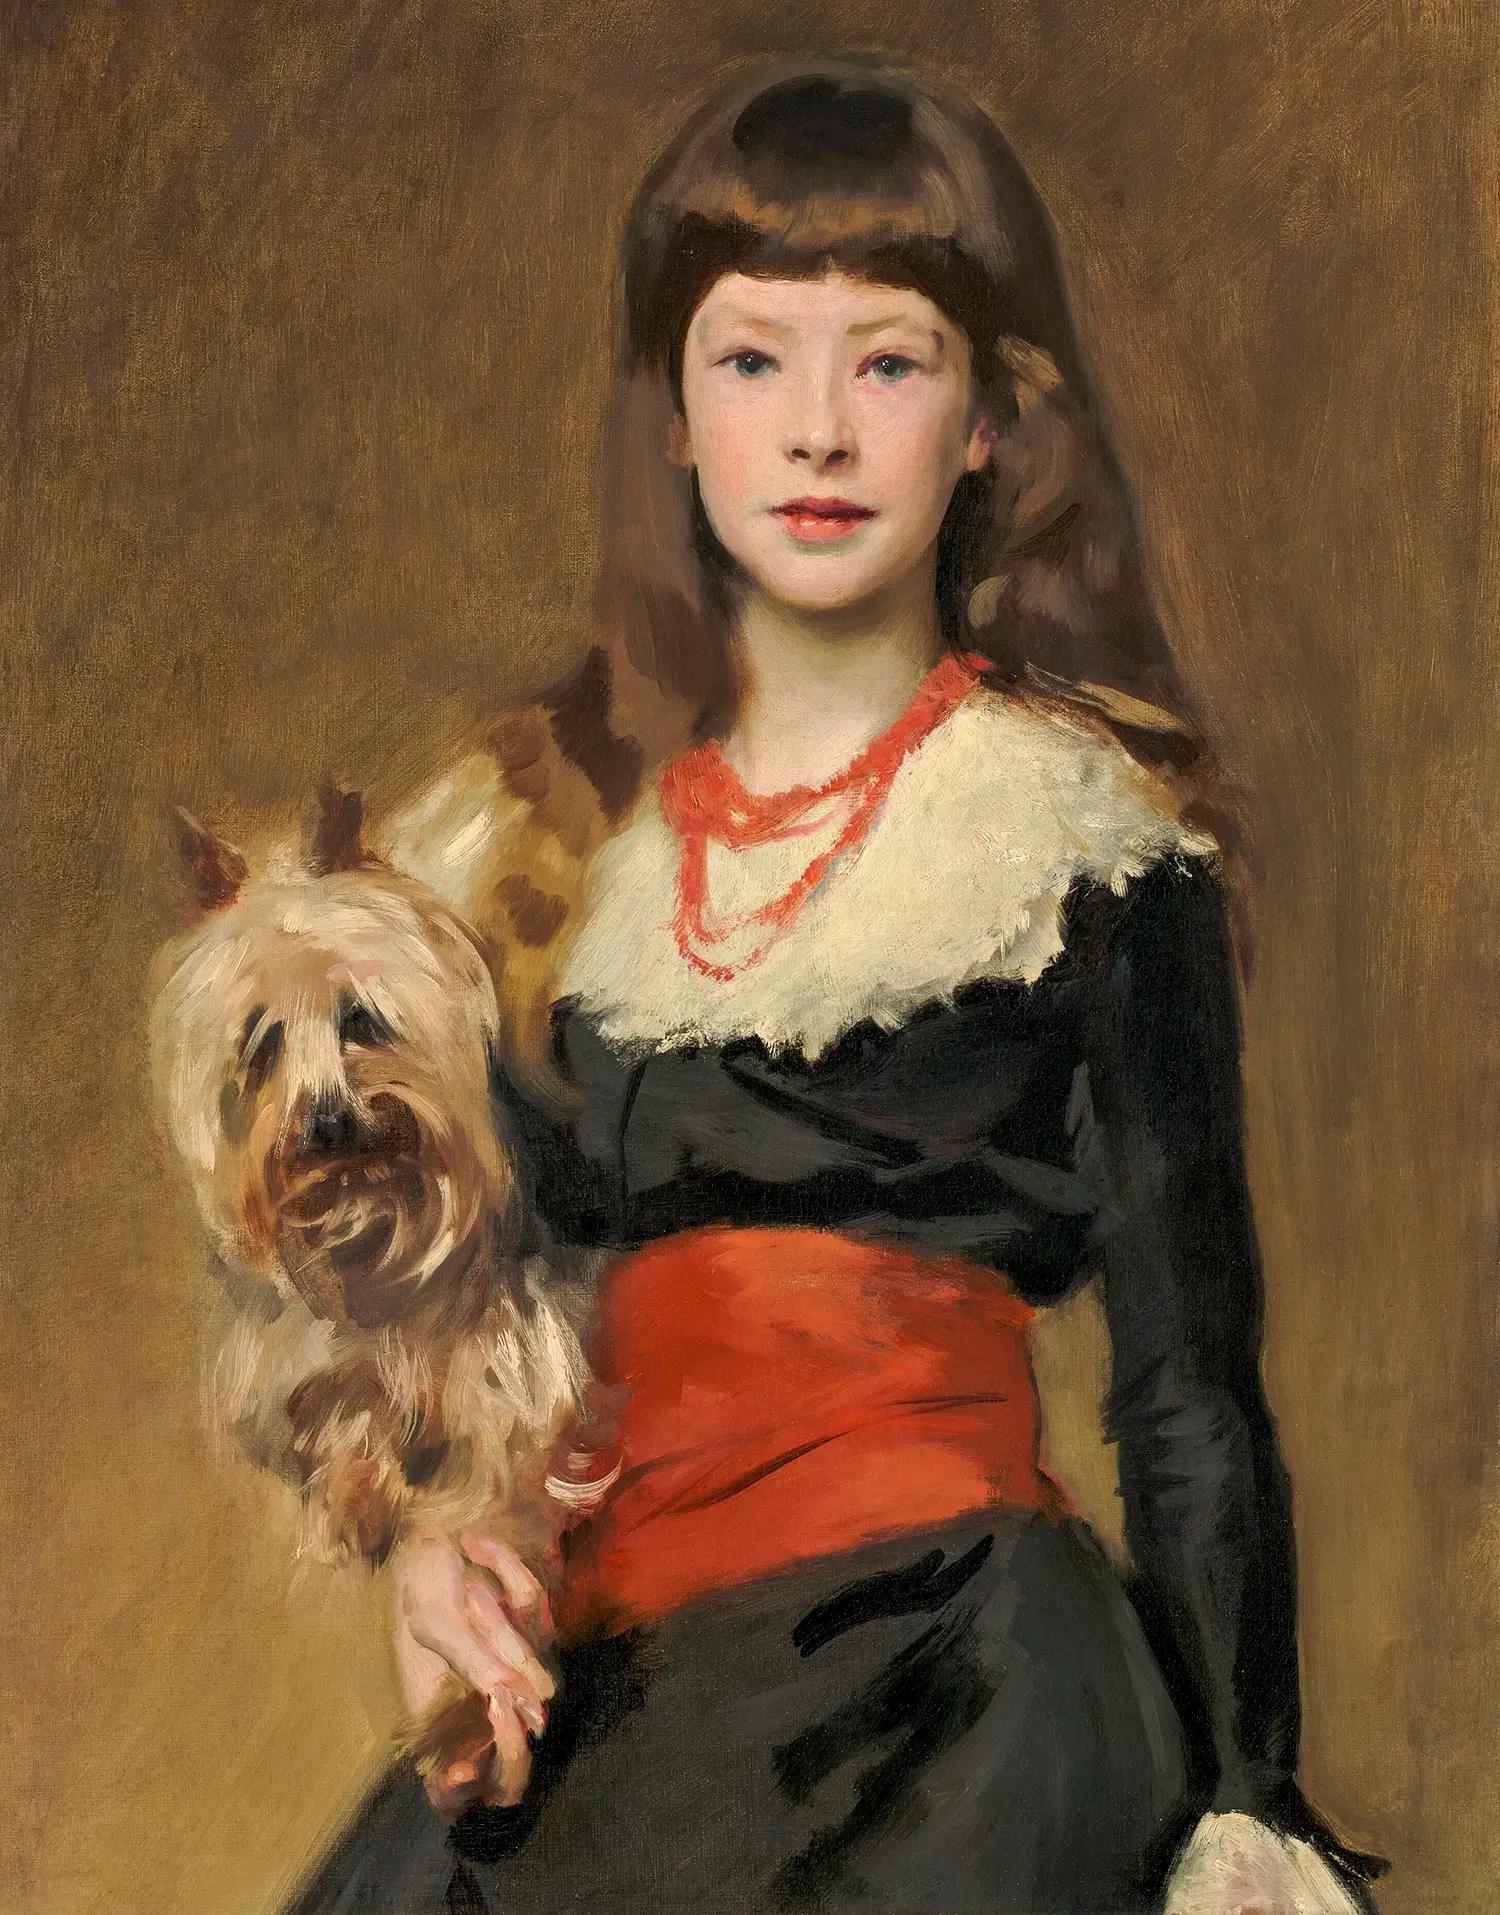
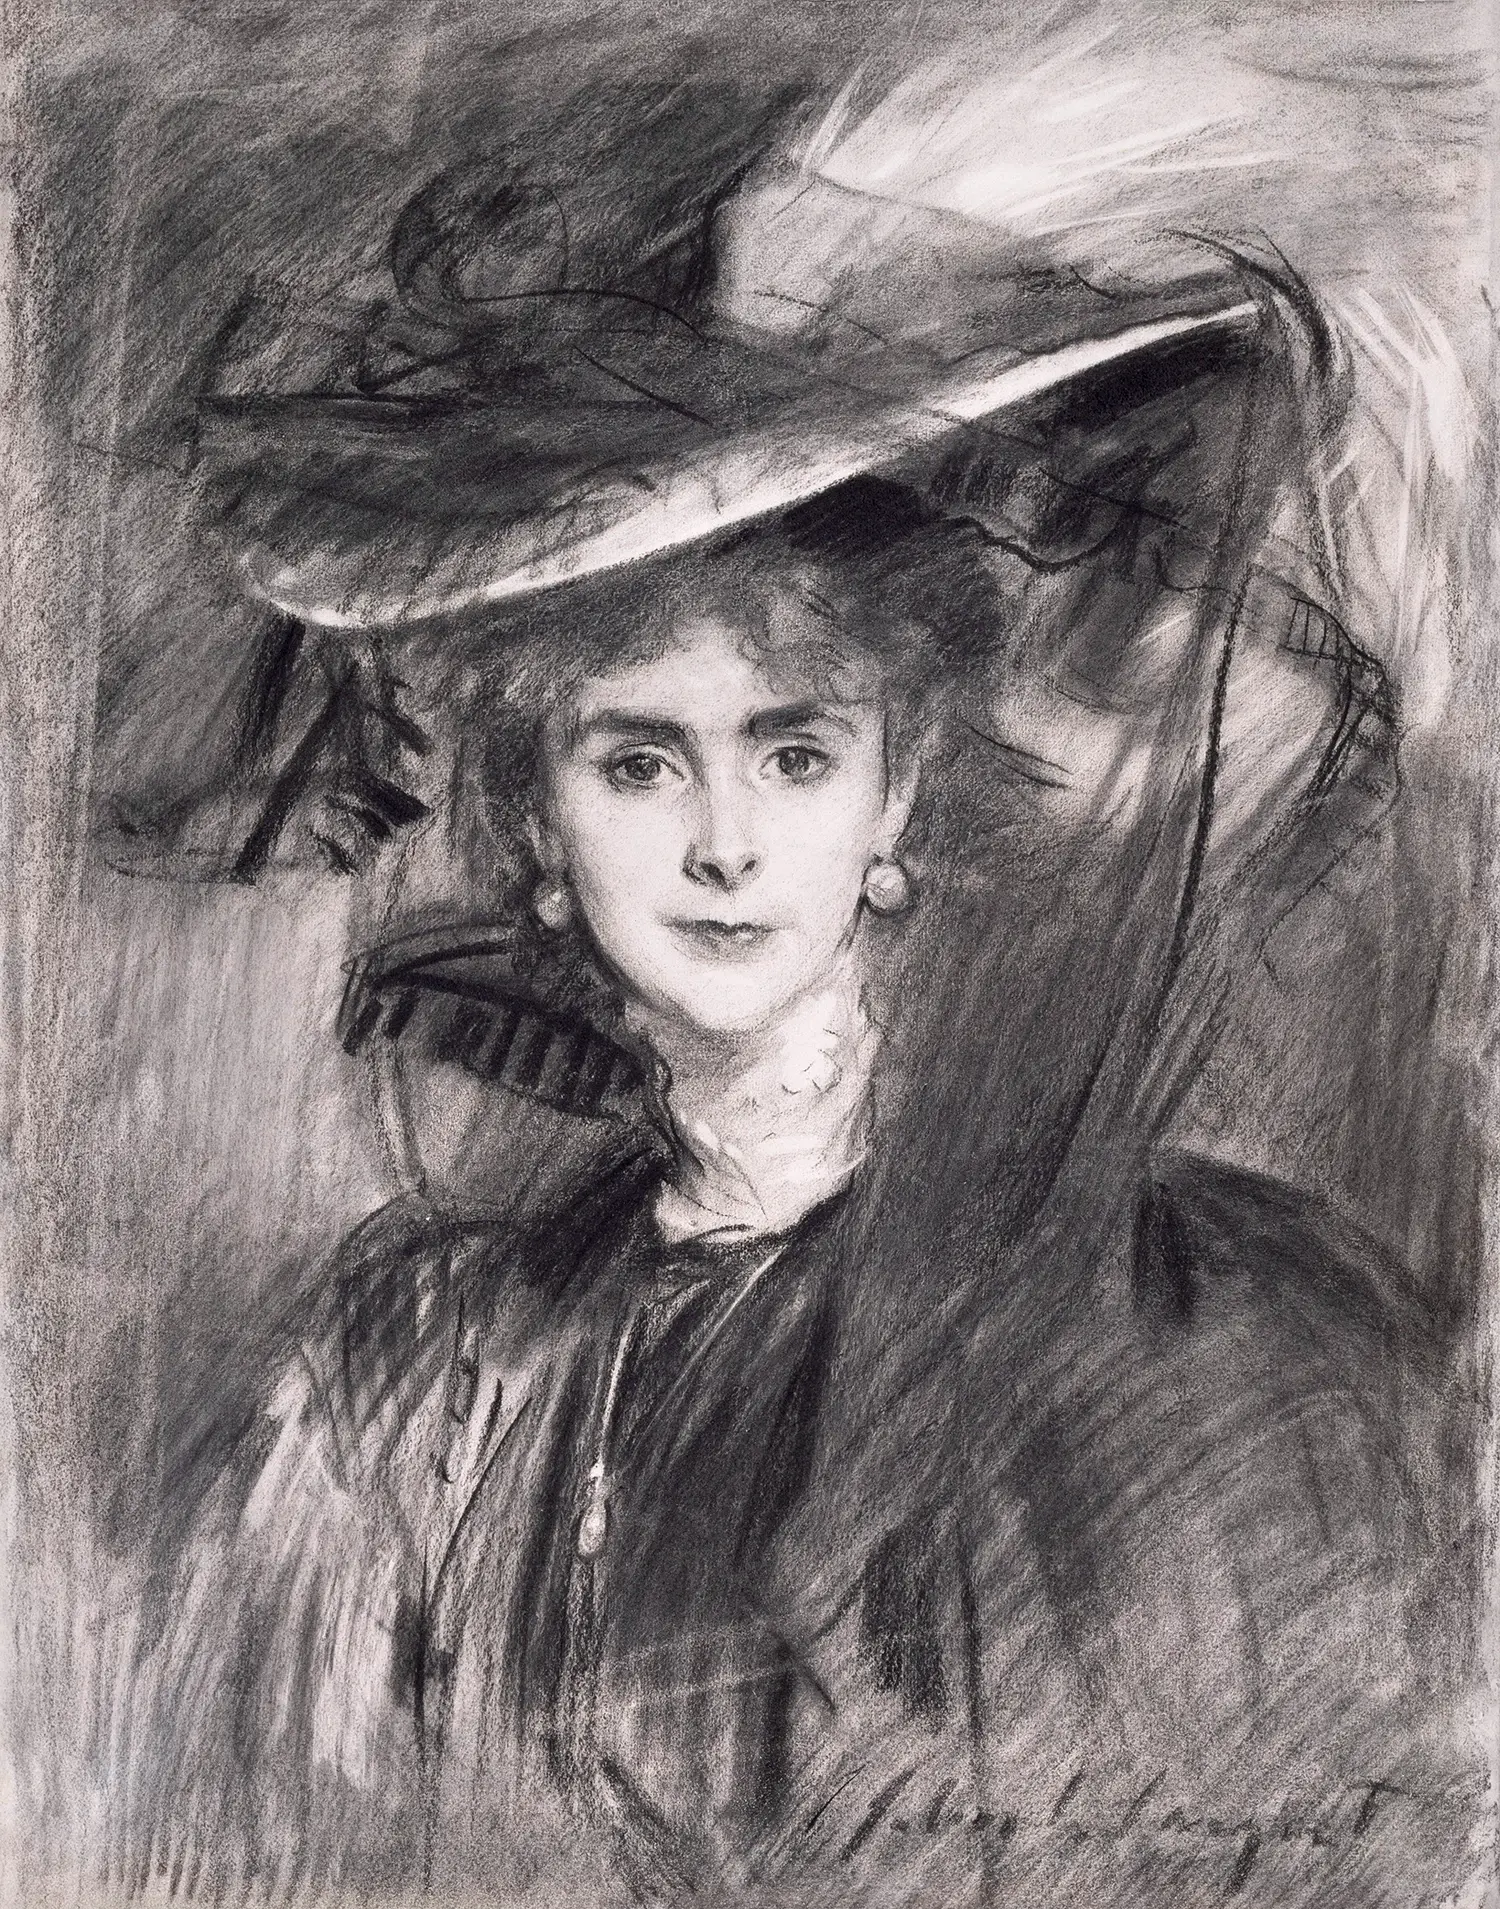
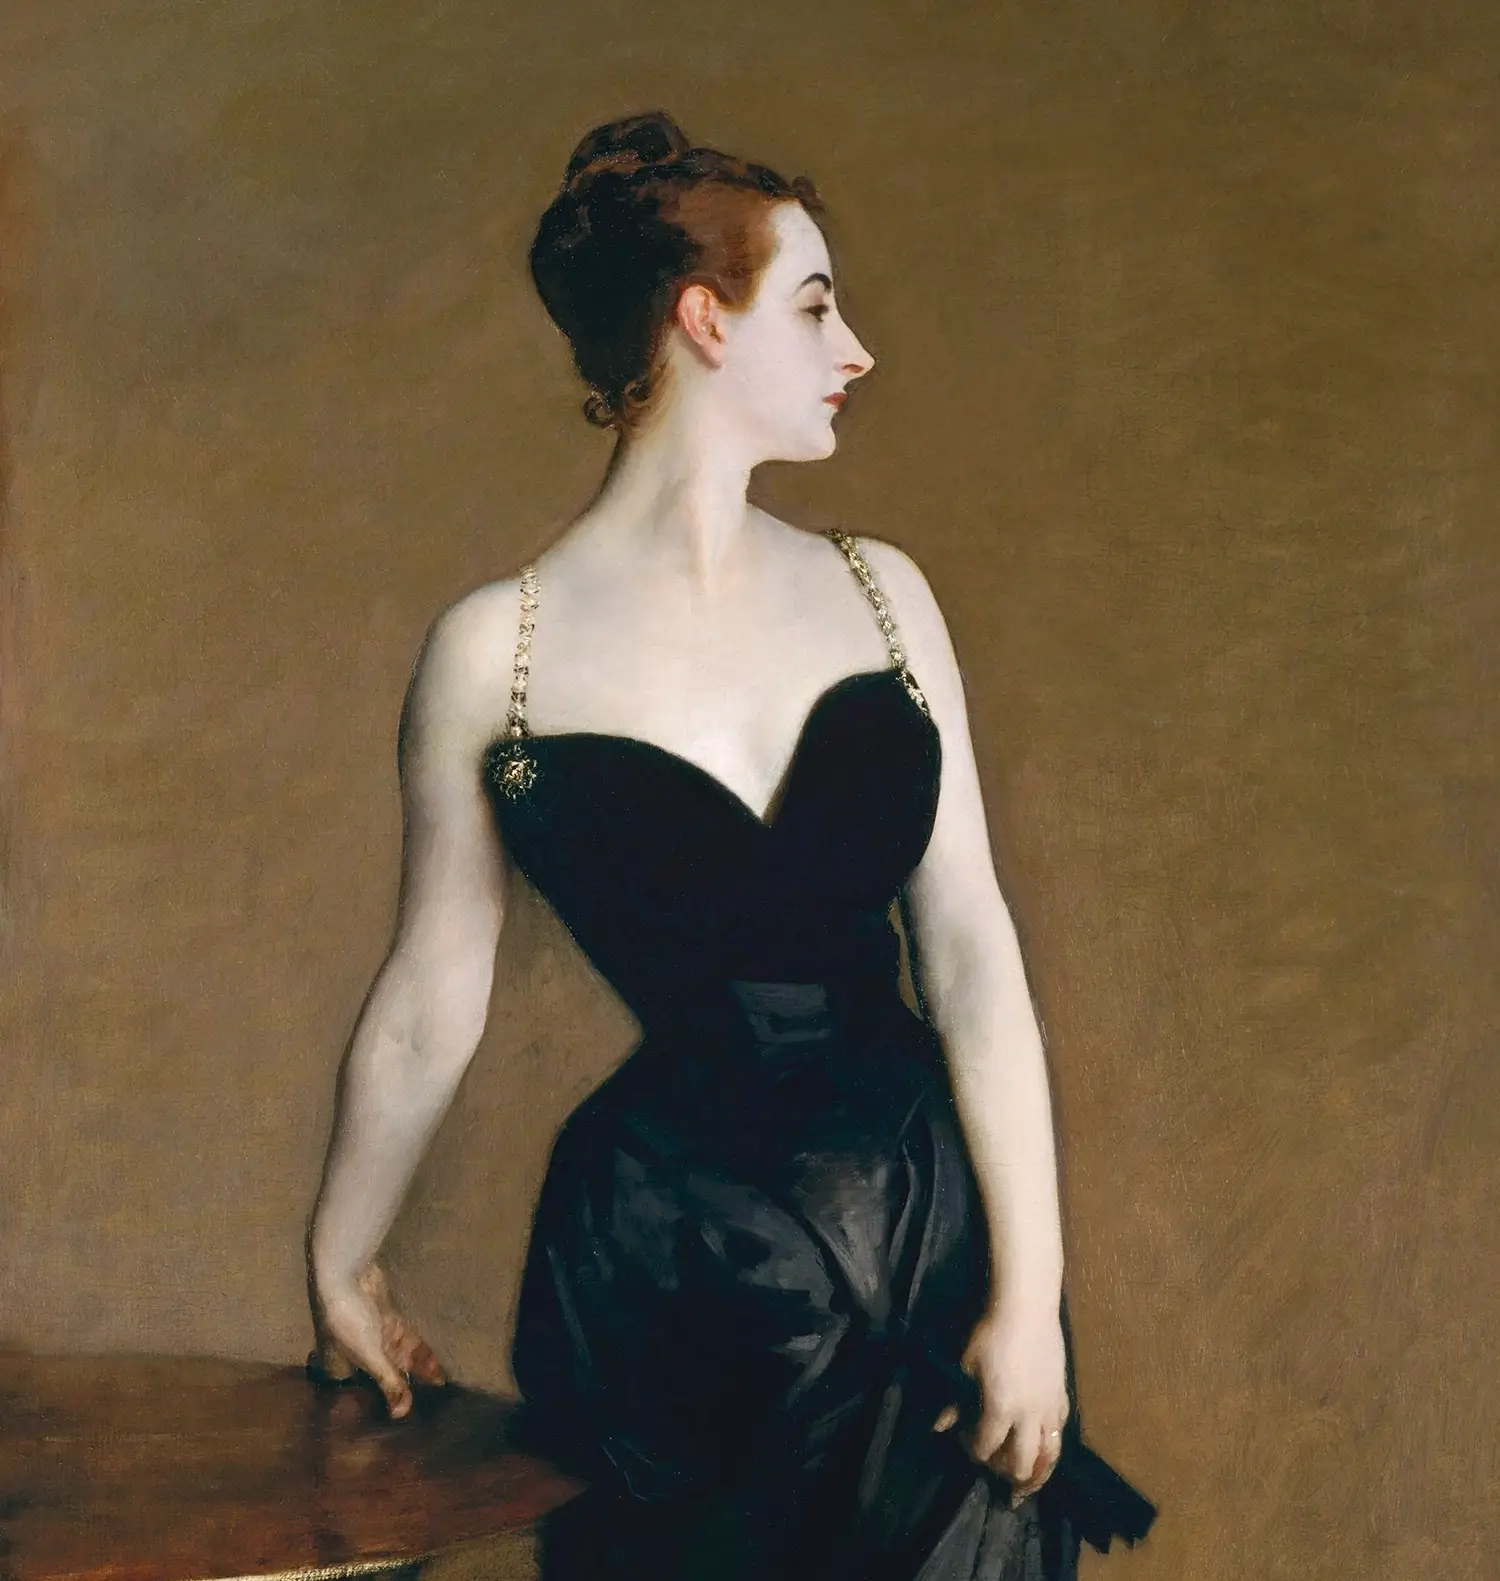
One artist I love to study is John Singer Sargent and his portrait drawings and paintings.
He’s widely regarded as one of the great portrait masters, known for his exceptional skill, technique, and composition.
He’s just one example of an artist you can learn from – there are so many masters worth studying. What matters most is choosing an artist you genuinely love. The more you connect with their work, the more motivated you’ll be to study it deeply and learn from it.
Even a few minutes a day studying the masters will dramatically improve your understanding of anatomy, shading, and capturing likeness.
Common Portrait Drawing Mistakes – Wrapping Up
So that’s seven common portrait drawing mistakes beginners fall into — and how to fix them. Hopefully these have given you the power to improve your portrait drawings and has included a few tips along the way to improve your art!
Focus on structure, confident lines, shadows, rotating your paper, and studying the masters.
Keep drawing, keep practising those essential exercises, and your portraits will improve fast. Check out this sketchbook update from myself, offering you some creative inspiration for your next project.
Want to further improve your drawing and in particular your portrait drawings? I recommend you taking take a look at this video below!

 6th January 2026
